I used to think companion planting would make garden planning easier.
Then I opened a chart.
Then another one.
And somehow I had more questions than before.
Which plants should actually go next to each other? How much space do they need? Does the same combination make sense in a raised bed and on a balcony? And what happens when I want to grow more than three things?
That was the part I kept missing.
A chart can give me ideas. But it does not know my garden.
So I built something simpler.
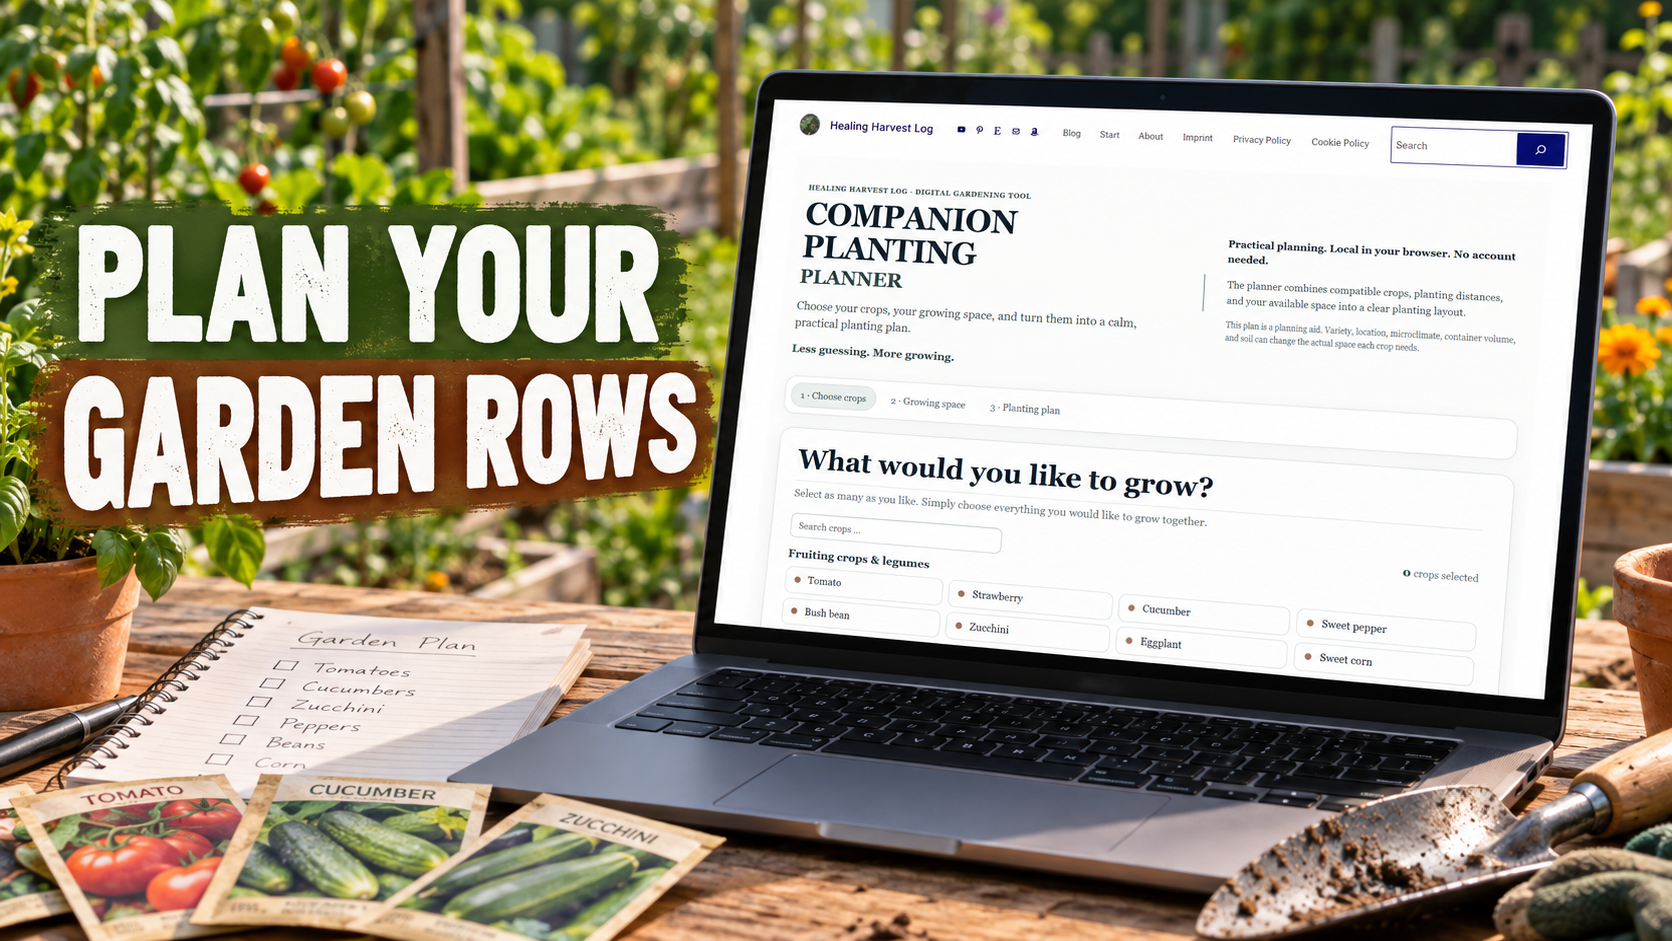
My Interactive Companion Planting Planner starts with the plants you actually want to grow and the space you actually have.
You can try it here:
Free Interactive Companion Planting Planner
Companion Planting for Beginners Does Not Need to Be Complicated
When I started gardening, I thought I had to understand every possible plant combination before I could make a good plan.
I don’t anymore.
For me, the first questions are much simpler:
What do I want to grow?
Where am I growing it?
How much space do I have?
That is exactly how the planner works.
First, you choose your crops.
Vegetables, herbs, flowers — whatever you actually want in your garden.
You can select several at once instead of searching for every combination separately.
Then comes the important part.
Garden, Raised Bed or Balcony?
Not everyone has the same growing space.
And that is one of the reasons generic companion planting charts never completely worked for me.
A garden area gives me very different options from a raised bed.
And a balcony with a few pots is another little world entirely.
So the planner lets you choose between three growing spaces:
Garden
Here you can enter the dimensions of your growing area and the number of beds you want to plan.
Raised Bed
You enter the size and number of your raised beds.
Balcony Gardening
Instead of bed dimensions, you tell the planner what you actually have: flower pots, larger containers and window boxes.
The crops stay the same.
The space around them changes.
And that makes planning much more practical.
From Plant List to Actual Planting Plan
This is the part I wanted most when I created the tool.
I did not want another long list saying:
Tomato likes this.
Carrot likes that.
Avoid this plant.
Try that flower.
I wanted to know:
Where do I put everything?
So after you choose your crops and growing space, the planner creates a simple planting layout.
One crop per row.
Clear bed and row labels.
Practical spacing guidance.
And a graphical plan that makes the whole thing easier to understand at a glance.
I can look at the plan, print it, take it outside and actually use it.
No spreadsheet.
No complicated garden drawing.
No trying to remember which tab I had open five minutes ago.
Why I Prefer One Crop Per Row
I know mixed planting can become wonderfully wild.
My garden certainly does.
But when I am planning, I like clarity.
One crop per row makes it easier for me to see what I am doing.
- I know where the tomatoes belong.
- I know where the carrots start.
- I know which row I am looking at when I stand outside with muddy hands and completely forget the beautiful plan I made indoors.
Simple works.
Especially in the beginning.
The Planner Is a Starting Point, Not a Rulebook
Gardens have personalities.
A sunny corner behaves differently from a shaded one. One tomato variety stays manageable while another seems determined to take over the world.
So I do not use the planner as a rigid instruction sheet.
It gives me a practical starting point.
Then I watch.
I adjust.
I learn what works in my own garden.
Frida would probably have laughed at the idea of letting a computer plan a garden.
But I think she would have understood why I made it.
Use the screen for a few minutes.
Then close it.
Go outside.
That is the whole point.
Which Growing Space Should You Choose?
This is also where this little series begins.
Over the next few weeks, I am going deeper into each of the three growing spaces:
- Garden area — how to turn an open growing space into practical rows.
- Raised beds — how to plan limited space without trying to squeeze everything in.
- Balcony and containers — how to work with pots, window boxes and larger containers.
Because companion planting looks different depending on where you are actually growing.
But you do not have to wait for those articles to start experimenting.
You can build your own plan now:
Try the Free Interactive Companion Planting Planner
Choose your crops.
Choose your space.
See what the plan looks like.
Then take it outside and make it yours.
Companion Planting for Beginners: A Simple Place to Start
If you are new to companion planting, I would not start by memorizing a huge chart.
Start with the food you want to grow.
Give the plants a place.
Keep the plan simple enough that it still makes sense when you are standing in the garden.
You can always make it more complicated later.
Gardens are very good at doing that all by themselves.
FAQs – Companion Planting Planning
Is the Interactive Companion Planting Planner free?
Yes. You can use the planner to create a planting layout for your garden, raised bed or balcony.
Can I select more than one crop?
Yes. The planner is designed for choosing several vegetables, herbs and flowers together.
Can I use it for a raised bed?
Yes. Choose Raised Bed and enter the dimensions and number of beds you want to plan.
Can I use the planner for balcony gardening?
Yes. The balcony mode works with flower pots, large containers and window boxes.
Can I print my planting plan?
Yes. You can print the finished plan or save it as a PDF for later.