Stuffed Summer Squash – Healthy Dinner Recipe on a Budget
This recipe makes a delicious, hearty stuffed summer squash (pattypan squash) for four people.It’s budget-friendly because half the ground beef is replaced with mushrooms – lighter, cheaper, and just as flavorful.
Ingredients
- 6 summer squash (pattypan squash, medium size)
- 250 g ground beef (mixed or lean)
- 250 g mushrooms, finely chopped
- 4 tbsp olive oil
- 4 onions, finely diced
- 4 cloves garlic, minced
- 2 tsp vegetable stock powder (or 300 ml broth divided)
- 4 tbsp tomato paste
- 2 eggs
- 100 g grated cheese (cheddar, gouda or mozzarell
- salt & pepper to taste
- optional: extra broth (to add into the baking dish for a little sauce)
Instructions
Prepare the squash
- Bring a large pot of water to a boil. Place the whole summer squash in the water and cook gently for about 20–30 minutes, depending on size, until slightly softened but not mushy. Remove, let cool slightly.
- Cut a “lid” off each summer squash.
- Scoop out the inside with a spoon, leaving the walls about 1 cm thick so they cook through.
- Chop the lids (without the stem) and the scooped-out flesh into small cubes.
- Lightly salt and pepper the hollowed squash.
Cook the filling
- Heat olive oil in a large pan.
- Sauté onions and garlic until soft.
- Add the ground beef and fry until crumbly.
- Add chopped mushrooms and cook until they release moisture.
- Stir in the chopped squash flesh and tomato paste.
- Season with broth powder, salt and pepper. Let cool slightly.
- Mix in the eggs for binding.
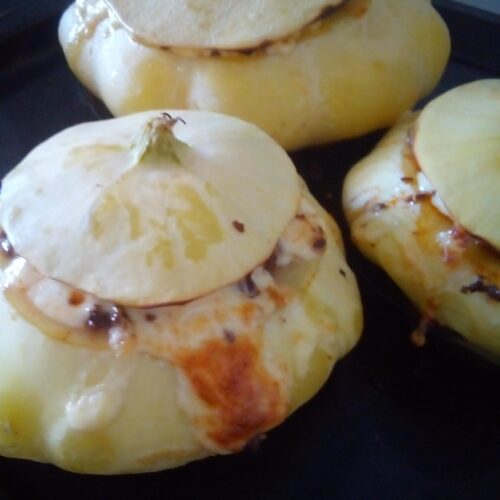
Serve
- Serve the stuffed summer squash warm, straight from the oven. It pairs beautifully with a crisp seasonal salad, fluffy couscous, or quinoa – light sides that keep this dish healthy and budget-friendly.
Notes
For a truly balanced plate, serve this stuffed summer squash with a light seasonal side. A fresh garden salad, quinoa, or couscous are all great options – they’re budget-friendly, healthy, and keep the meal low in calories. Rice or whole-grain bread also work if you want something more filling. This way, you’ll have a wholesome healthy dinner on a budget that satisfies without feeling heavy.

“Dinner is never just food – it carries the warmth of a shared table.”Storage: Keep leftovers of the stuffed summer squash in airtight glass containers. I like this set of 5 on Amazon. They’ll stay fresh in the fridge for up to 3 days. Make ahead: You can prepare the mushroom–beef filling a day in advance and store it chilled. This makes the recipe perfect for busy weeknights. Flavor tip: Pair it with a crisp seasonal salad, quinoa, or couscous – light sides keep the meal healthy and budget-friendly. Preparation: A reliable food processor makes chopping mushrooms, onions, and even grating cheese much easier. Helpful tools: I use a sturdy ceramic casserole dish on Amazon for even baking and a powerful food processor on Amazon to save time in prep, and a handy fine mesh strainer set on Amazon to rinse quinoa and couscous without losing half of it down the sink. Note: These are personal recommendations. If you purchase through the Amazon links, I may earn a small commission at no extra cost to you. © This recipe is copyrighted by HealingHarvestLog.com. Join us on Pinterest! Discover more simple recipes, mindful gardening ideas, and seasonal treasures from the garden:
Frida from the HealingHarvestlog.com Blog