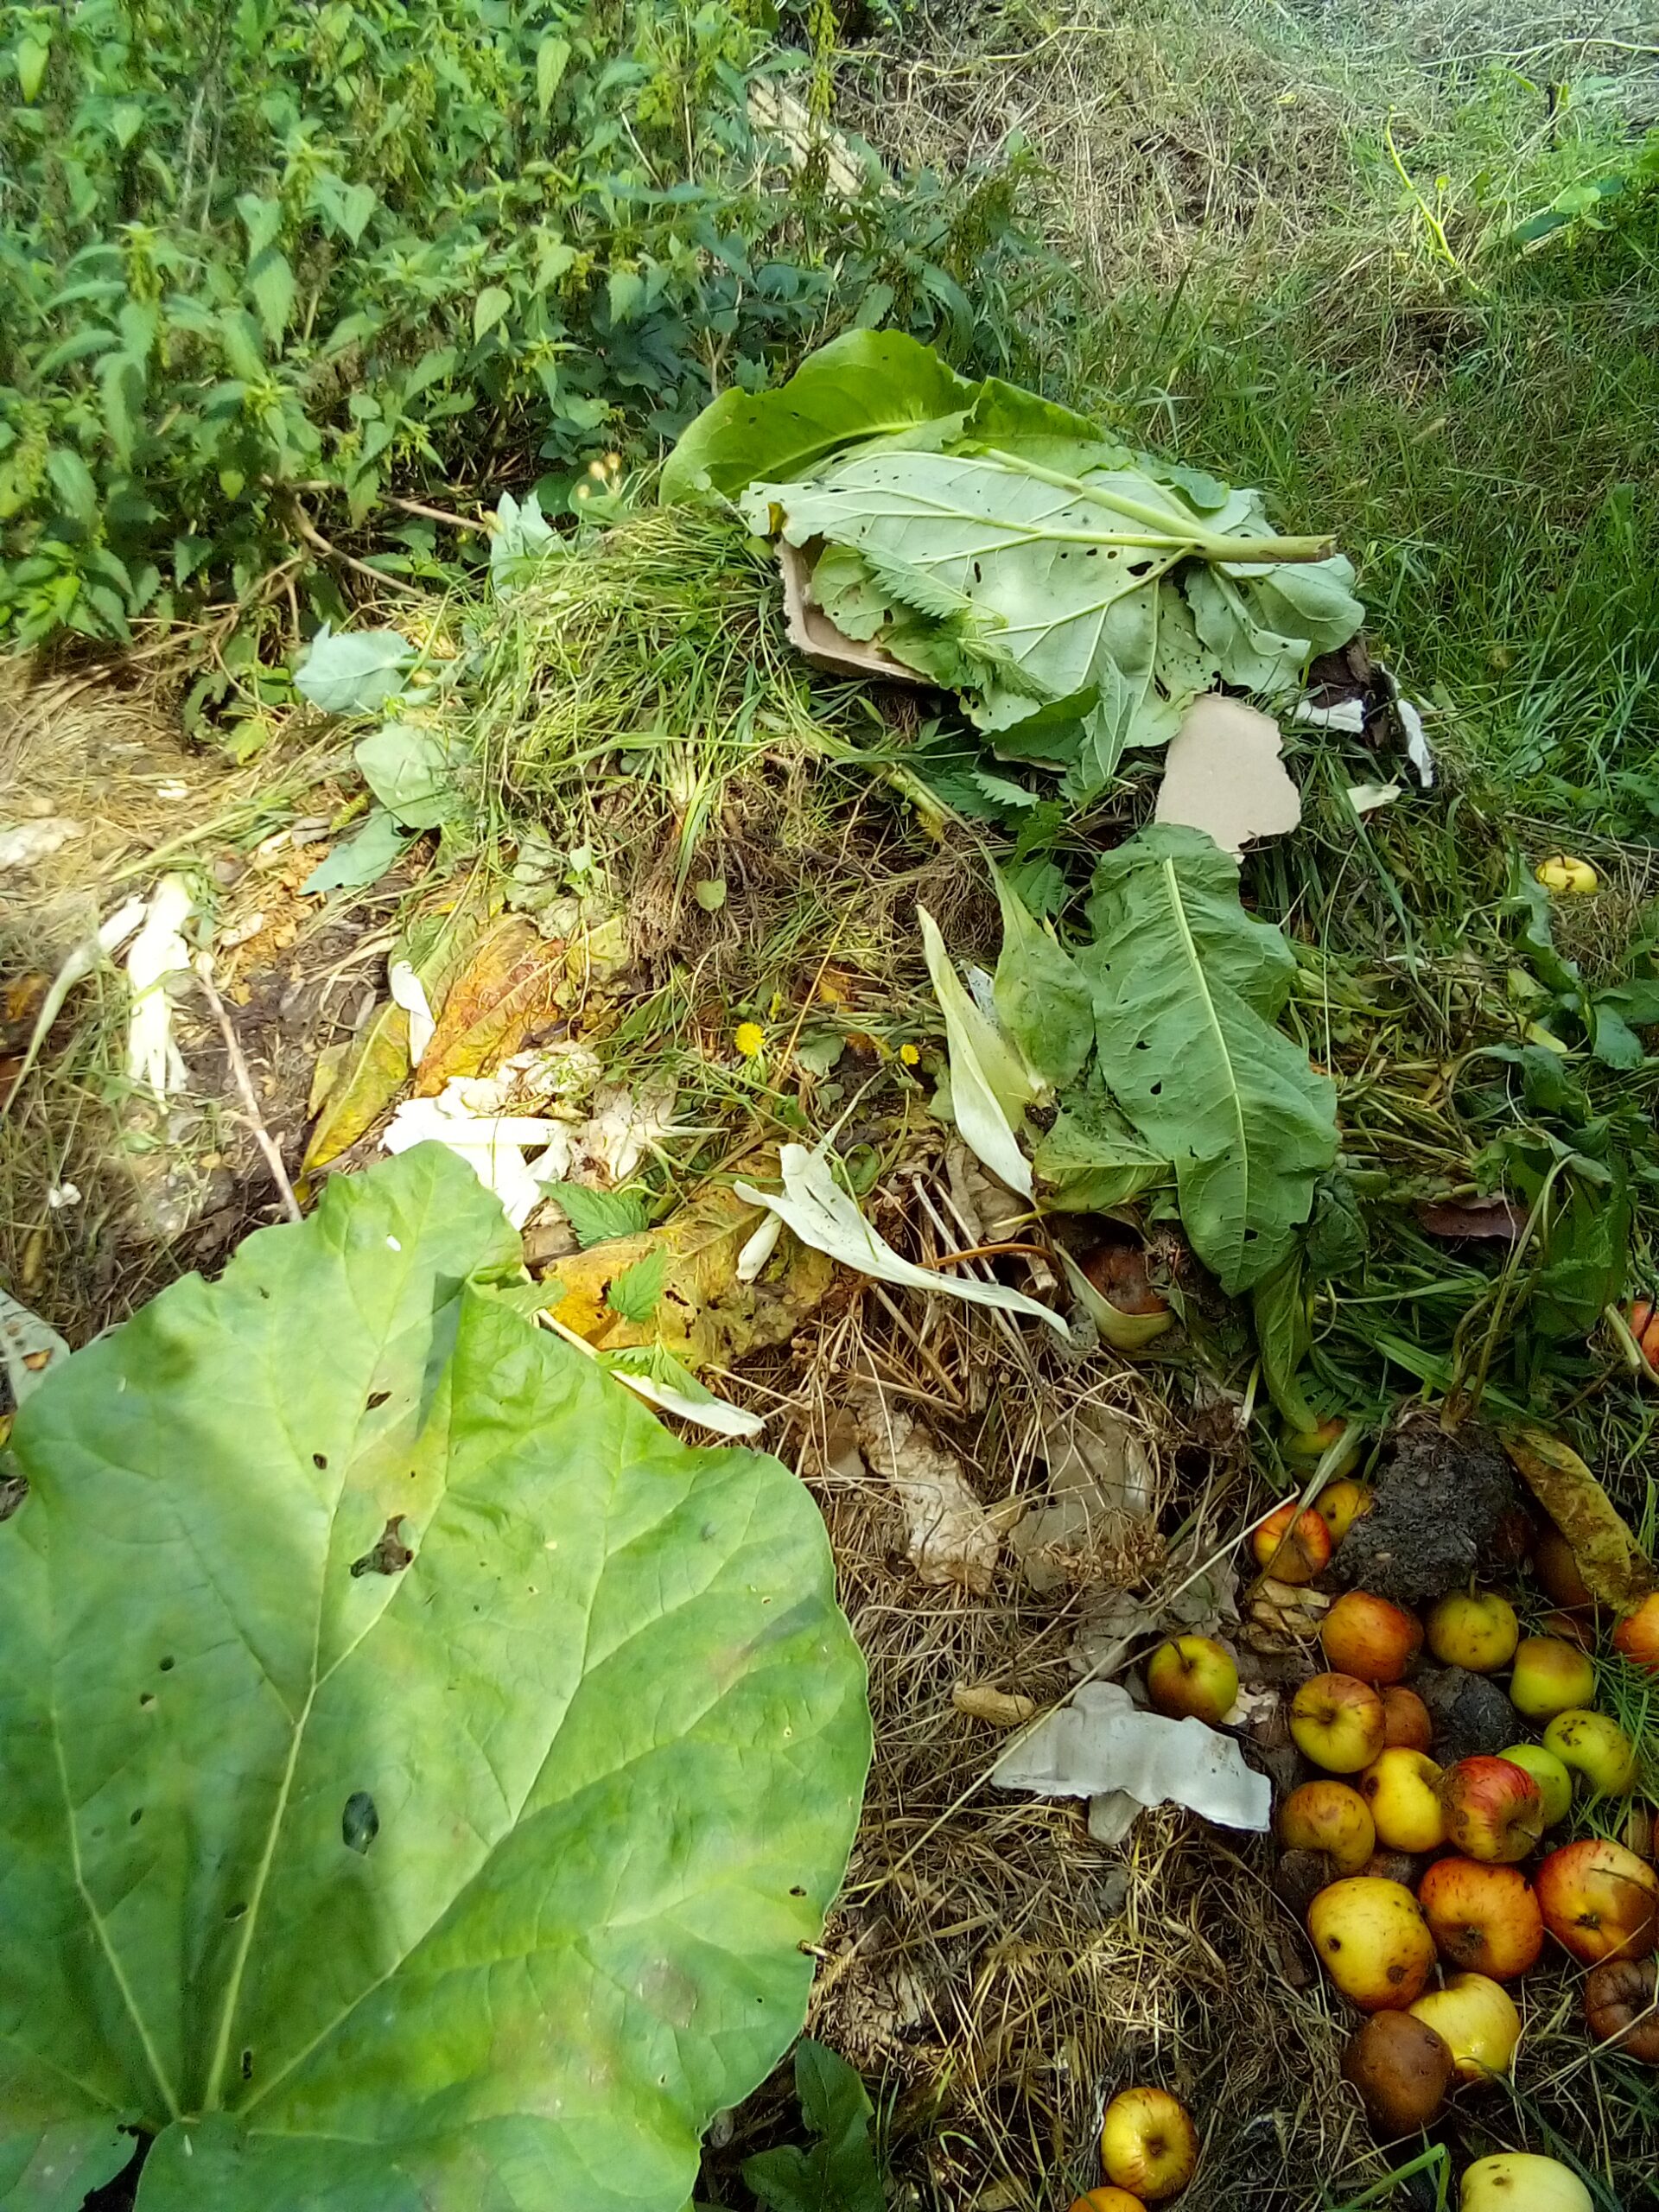
Composting is one of the easiest and most sustainable ways to create nutrient-rich soil for your garden. The best part? You turn kitchen and garden waste into valuable fertilizer—completely naturally!
In this guide, I’ll show you how to set up a simple compost pile. Plus: Why red compost worms (Eisenia fetida) will supercharge the process!
The Ideal Three-Bin Compost System
For the best composting results, consider using a three-bin compost system. This setup allows for continuous composting throughout the years:
- Bin 1: The newest compost pile where fresh materials are added.
- Bin 2: Partially decomposed compost from the previous year, resting and breaking down further.
- Bin 3: Fully matured compost from two years ago, ready to be used in the garden.
This method ensures that you always have nutrient-rich compost available while efficiently managing your organic waste.

1. Collect Dry Materials for the Base
The first step is creating a loose, airy base to ensure proper airflow and prevent your compost from becoming too wet.
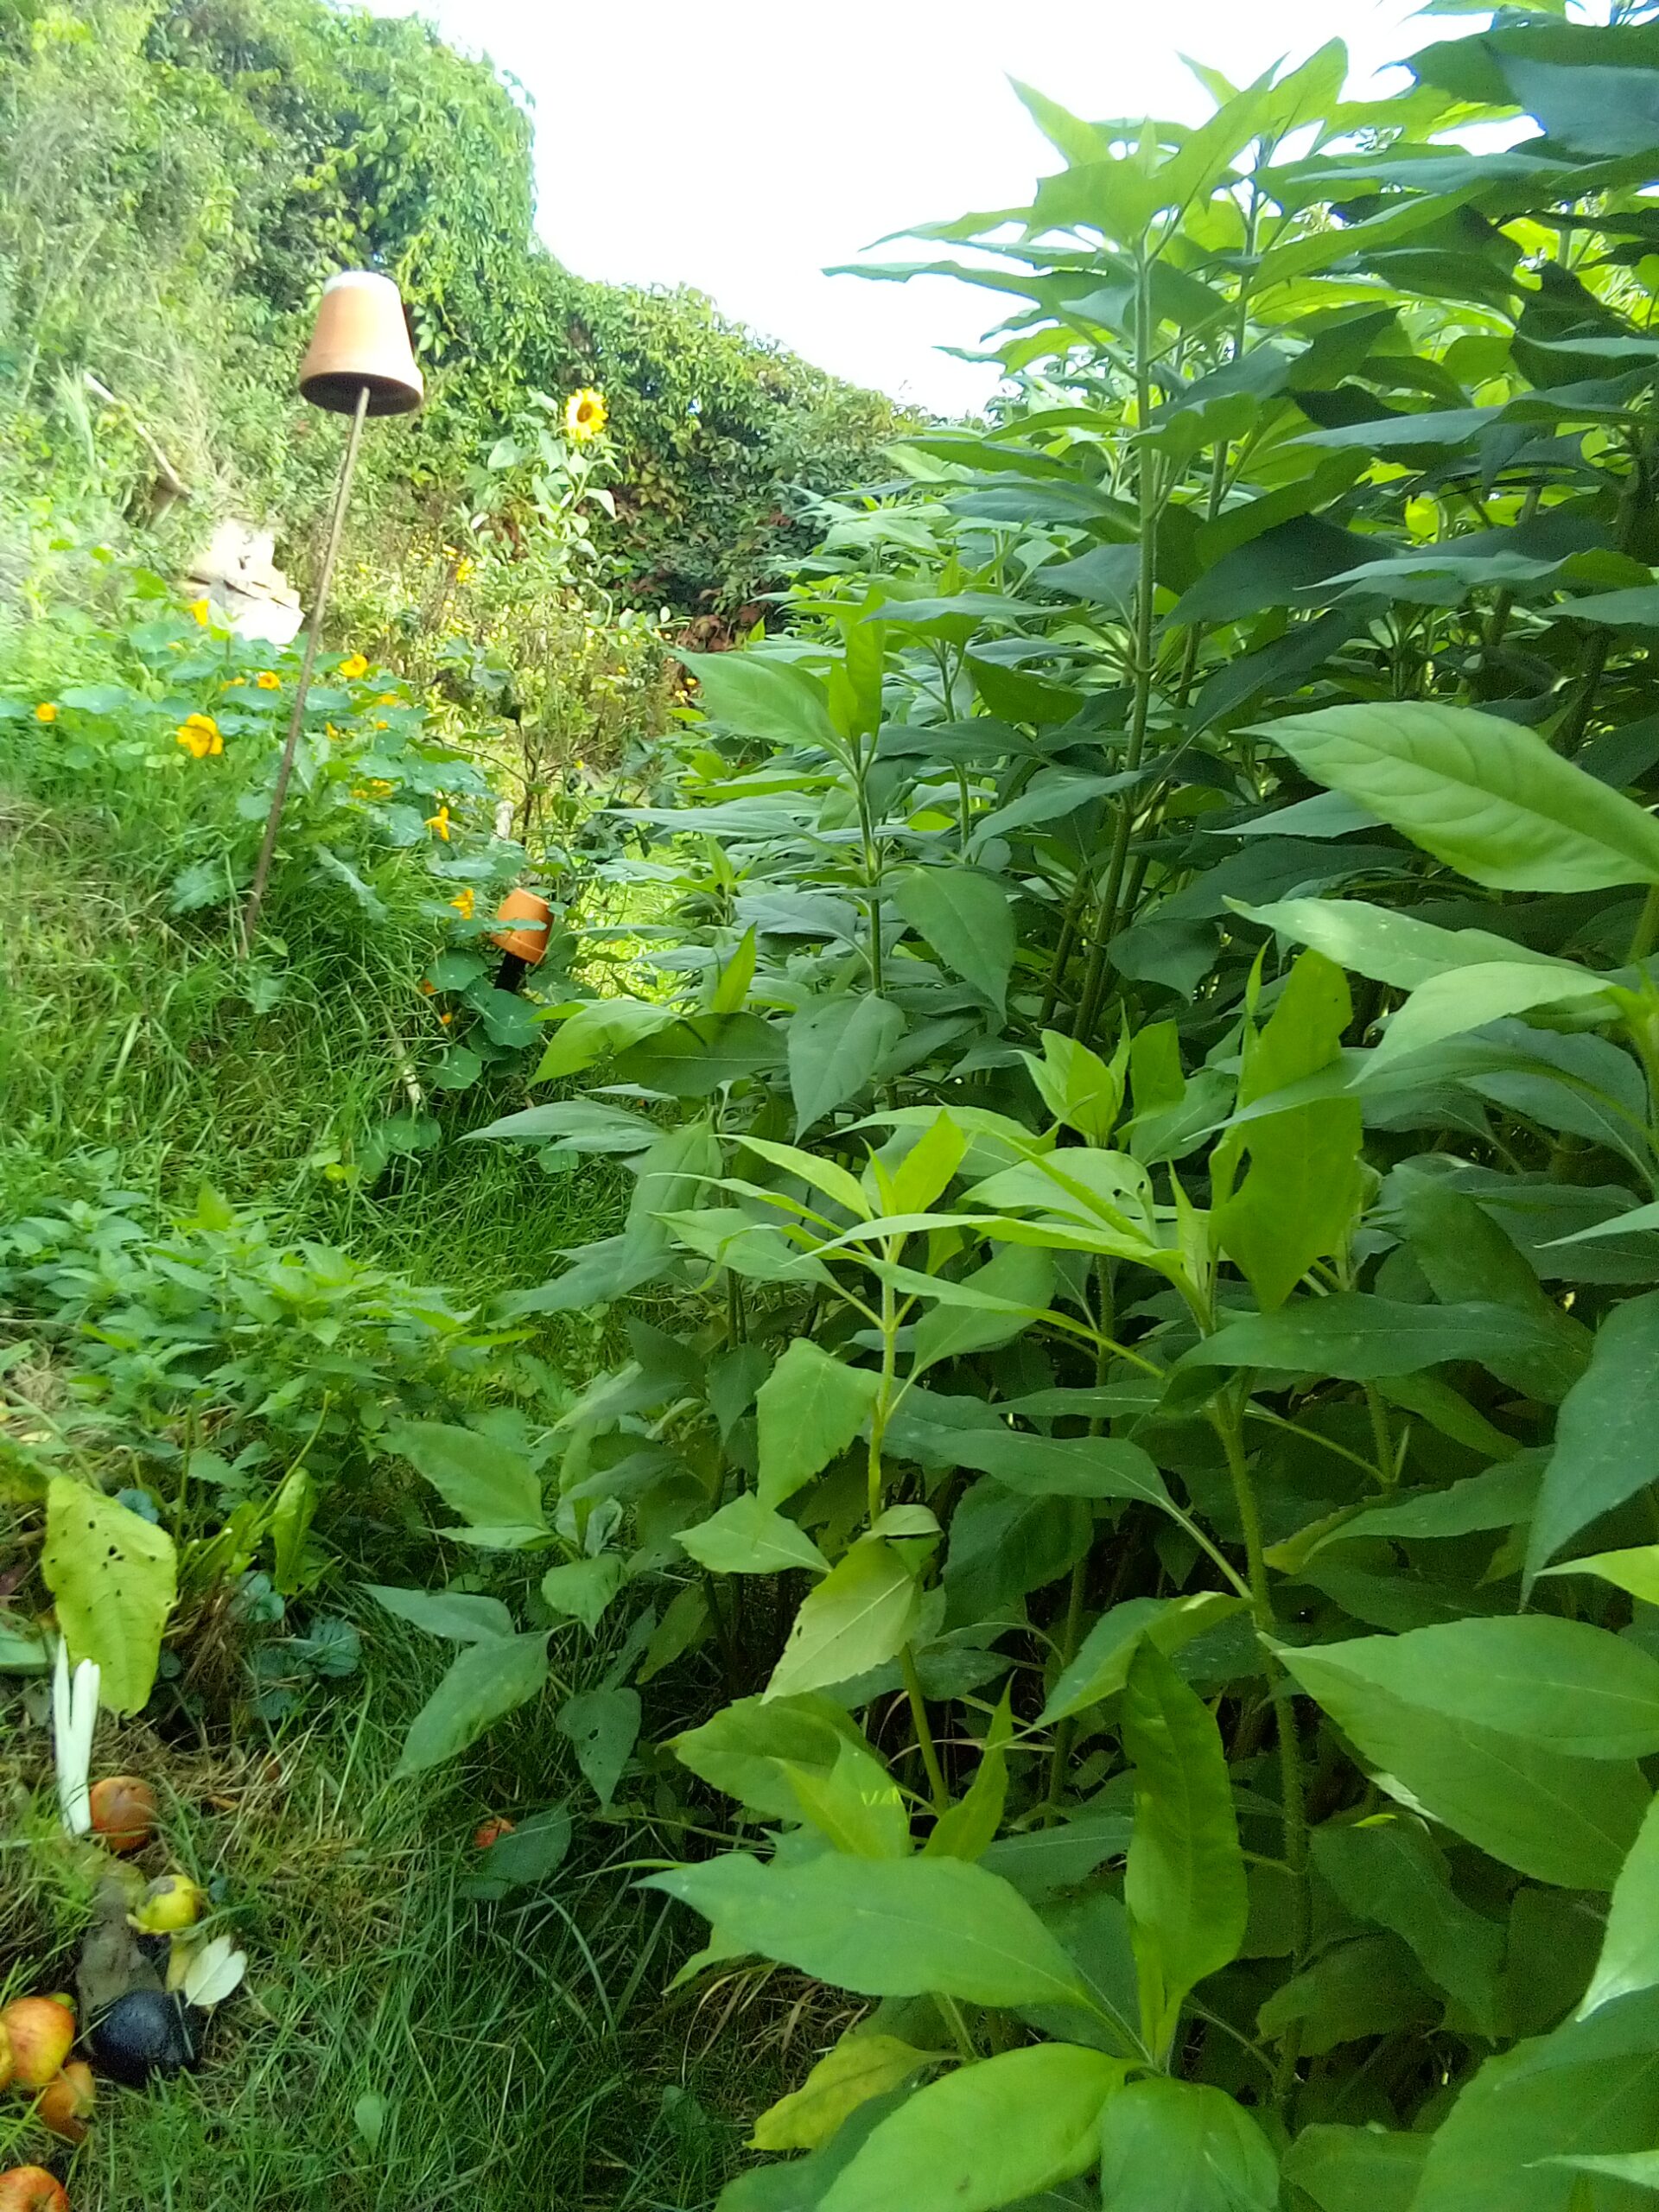
- Leftover stalks from Jerusalem artichokes
- Dried grass
- Dried nettle stems
- Corn stalks from last autumn
If you don’t have these materials, small branches or wood chips work well too.
2. Add a Layer of Dry Leaves
The next step is adding dry leaves. They provide structure and contribute essential carbon for balanced composting.
- Suitable: Maple, beech, chestnut, and leaves from fruit trees
- Avoid large amounts of walnut or oak leaves (they decompose slowly due to tannins)
If your leaves are wet, let them dry before adding them.
3. Add Unfinished Compost to Kickstart the Process
To speed up decomposition, add a layer of unfinished compost from last autumn. This material already contains microorganisms, insects, and worms that help break down organic matter.
If you don’t have old compost, a handful of garden soil will also work.
The Secret Weapon: Red Compost Worms
Now comes the most important part: adding red compost worms (Eisenia fetida). These little creatures will make your composting process faster and more effective.
Why Are Red Worms So Important?
- They eat their body weight in organic material every day.
- They produce high-quality worm castings, the best natural fertilizer.
- They aerate the compost and improve its structure.
Where Can You Get Red Worms?
- From your garden – Check under compost piles or in moist soil.
- From a worm farm or online supplier.
- In nature – Look under leaf piles or decaying organic matter.
Simply place the worms on top of the compost pile, and they will burrow in naturally.

4. Add the First Kitchen Scraps
Now you can start adding kitchen scraps, but be careful—some materials should not go in the compost.
What to Add:
- Fruit and vegetable peels
- Coffee grounds and tea bags
- Crushed eggshells
- Small plant trimmings
What to Avoid:
- Cooked food, meat, fish, or dairy (attracts pests)
- Large amounts of citrus peels or onions (can disturb worms)
Tip: Chop large scraps into smaller pieces to speed up decomposition.
Bonus Tips for a Healthy Compost Pile
- Balance “greens” and “browns” – Too many wet scraps can make compost slimy, while too much dry material can slow down decomposition.
- Check moisture levels – Compost should feel like a damp sponge. Add water if it’s too dry or more dry leaves if it’s too wet.
- Turn the compost occasionally – Mixing it every few weeks adds oxygen and speeds up decomposition.
Conclusion: Faster, Better Compost with Worms
By following these simple steps, you’ll create a productive compost pile that transforms waste into rich, fertile soil. The key to faster, better composting? Red worms! These tiny creatures work non-stop to break down organic material and enrich your garden with worm castings.
How to start Gardening at Home?
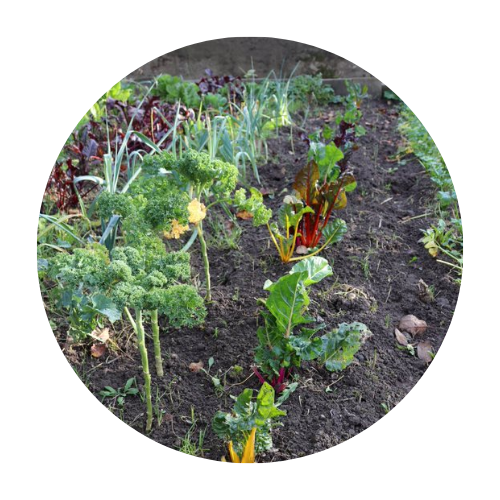
Starting a garden at home is easier than you think! Whether you have a big backyard or just a small balcony, growing your own herbs, vegetables, or flowers brings joy and fresh produce right to your doorstep. The key to a successful start?
Healthy seedlings! To give your plants the best beginning, check out the Burpee SuperSeed Seed Starting Tray on Amazon! This tool makes germination super easy, ensuring strong roots and a high success rate for your seedlings. With a little patience and the right setup, you’ll be harvesting fresh greens in no time!
But to truly master home gardening, knowledge is key! That’s why “The Vegetable Gardener’s Bible” is an absolute must-read. This book is packed with practical tips on soil health, crop rotation, companion planting, and maximizing yields—perfect for beginners and experienced gardeners alike. With clear explanations and easy-to-follow guidance, it helps you build a thriving garden that keeps producing all season long. With the right tools and knowledge, you’ll be harvesting fresh greens in no time! And if you don’t want to miss out on more tips, sign up for my newsletter: The Monthly Dirt – Easy Gardening for Busy People! – Sign up here: healingharvestlog.com/newsletter

FAQs – How to start a Compost Pile
What can I put in a compost pile?
Use a mix of “greens” like veggie scraps and coffee grounds with “browns” like dry leaves or paper. Avoid meat and dairy.
How long does compost take to be ready?
With regular turning and good moisture, compost is ready in about 3–6 months.
Do I need a compost bin?
No, a simple pile works fine. A bin just helps with moisture control and neatness.
Why isn’t my compost breaking down?
It might be too dry, too wet, or missing greens. Turn it more often and adjust the mix.
What mistakes should beginners avoid when learn how to start a compost pile?
Adding meat, skipping the turning, or letting the pile dry out are common beginner errors.
