
Homemade apple cider vinegar is one of the quiet treasures of slow living. You don’t need special equipment, complicated recipes, or additives – just apples (Malus domestica), clean water, and a little patience. It’s a beautiful example of fermentation at home, where nature does the work while we simply guide it with a wooden spoon.
Frida often reminded me that vinegar once had a place in every household – not only for cooking, but also as a natural remedy, a cleaning agent, and a tonic for skin and hair.
“Vinegar is the little pharmacy in a jar,” she told me. And she was right.
So if you want to try self-sufficiency without stress, start here. Homemade apple cider vinegar is one of the easiest things to ferment in your kitchen. After a few weeks, you’ll hold a golden liquid in your hands that smells like late summer and carries its healing power into winter.
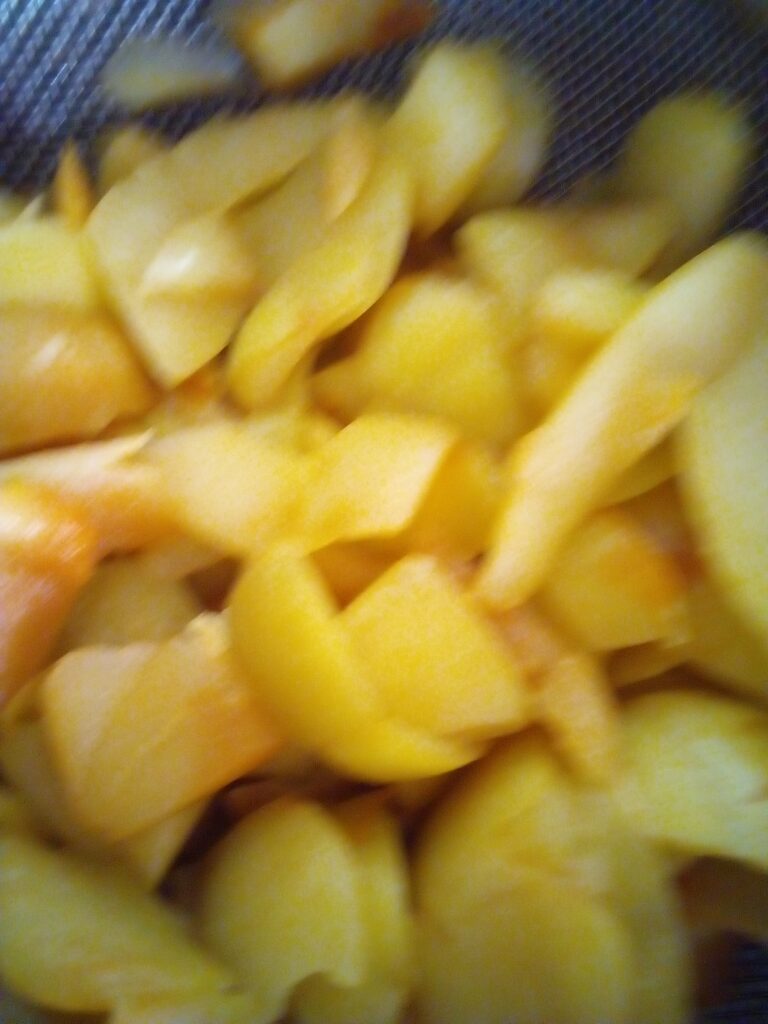
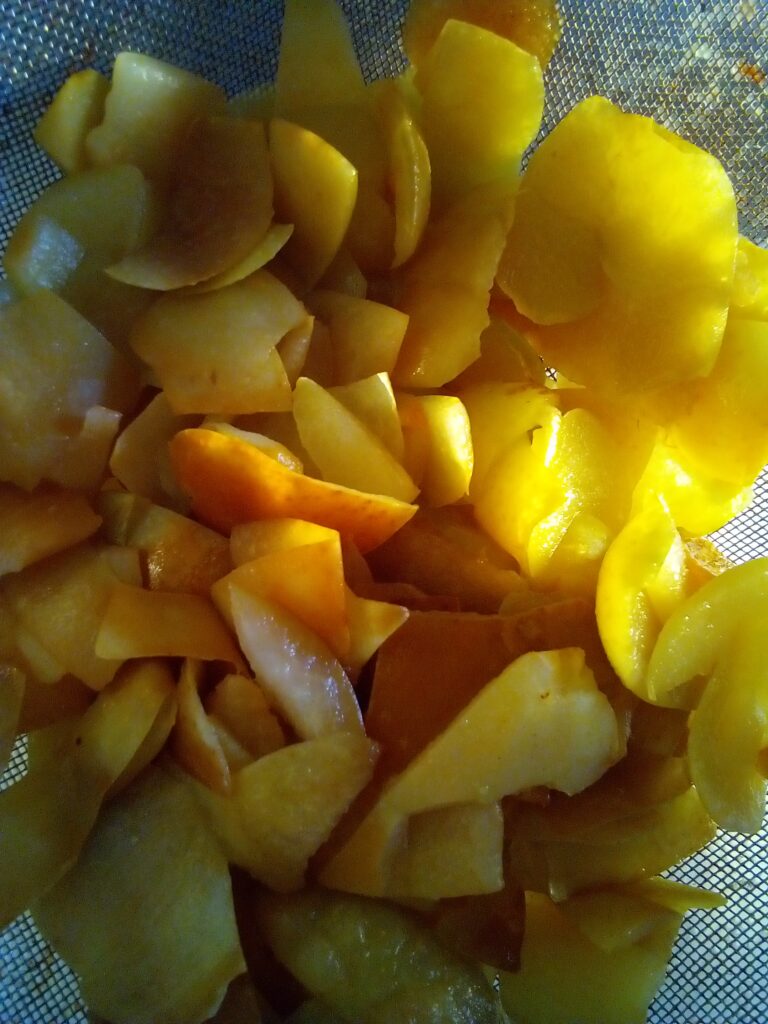
Step 1 – Preparing the apples
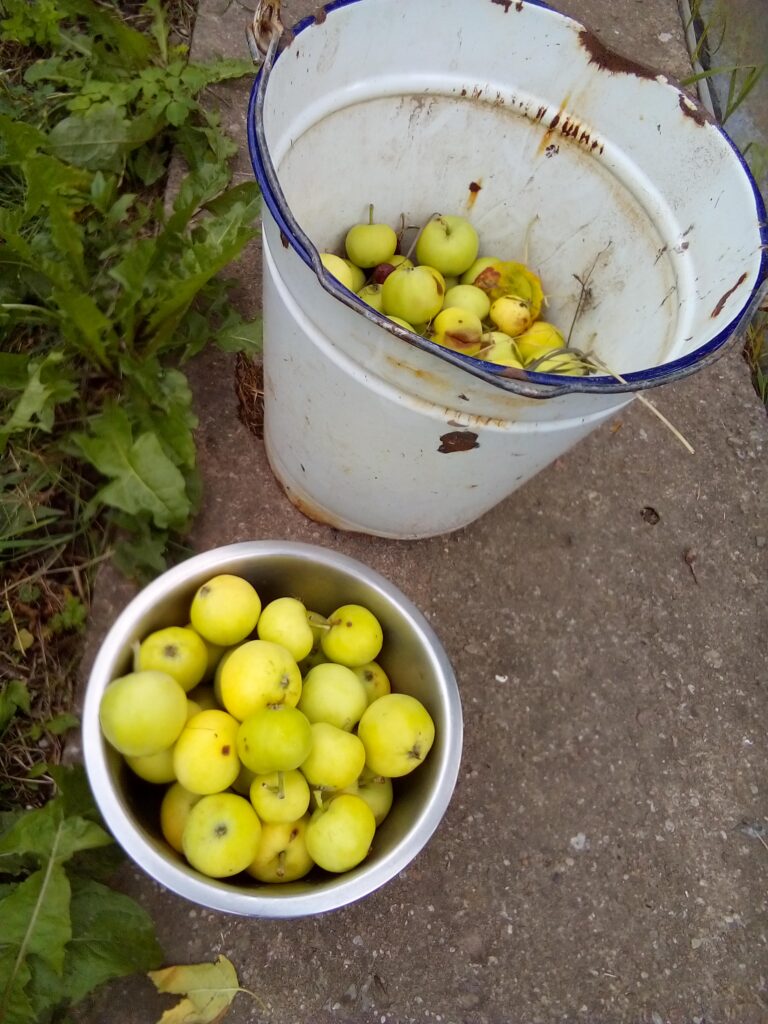
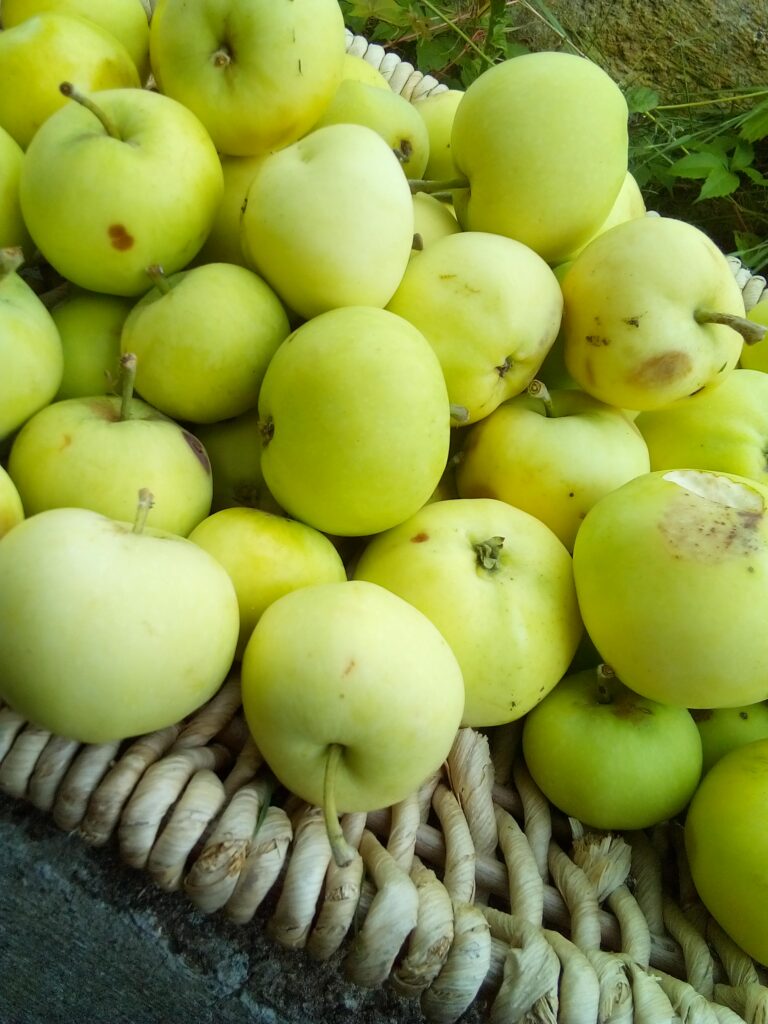
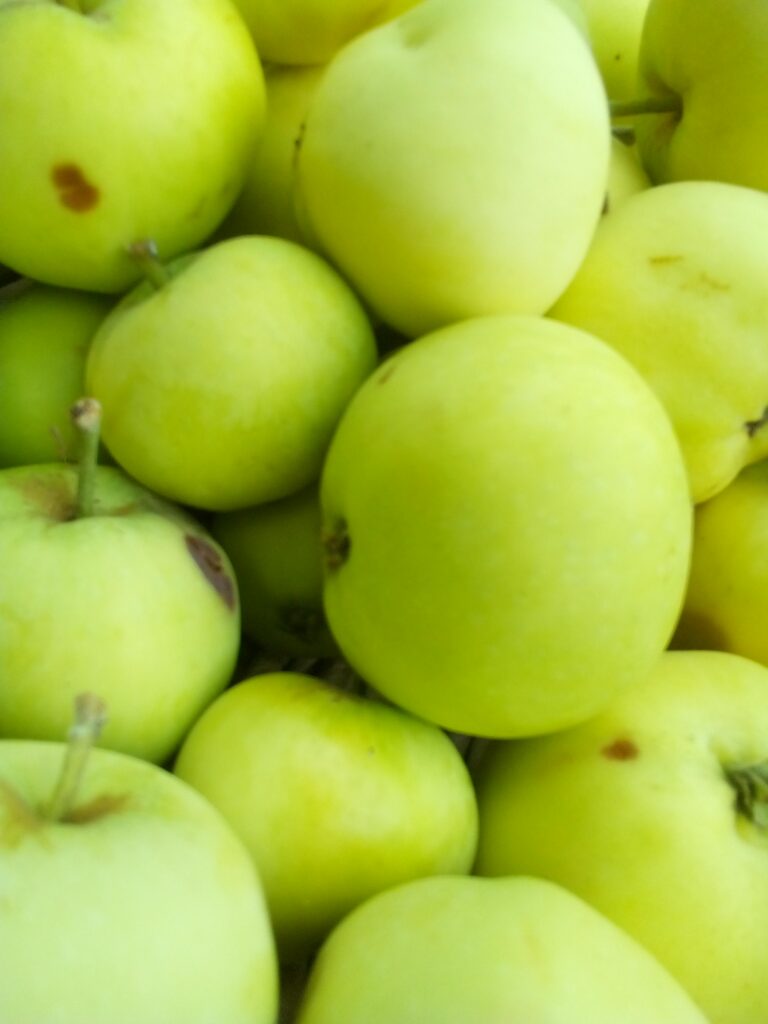
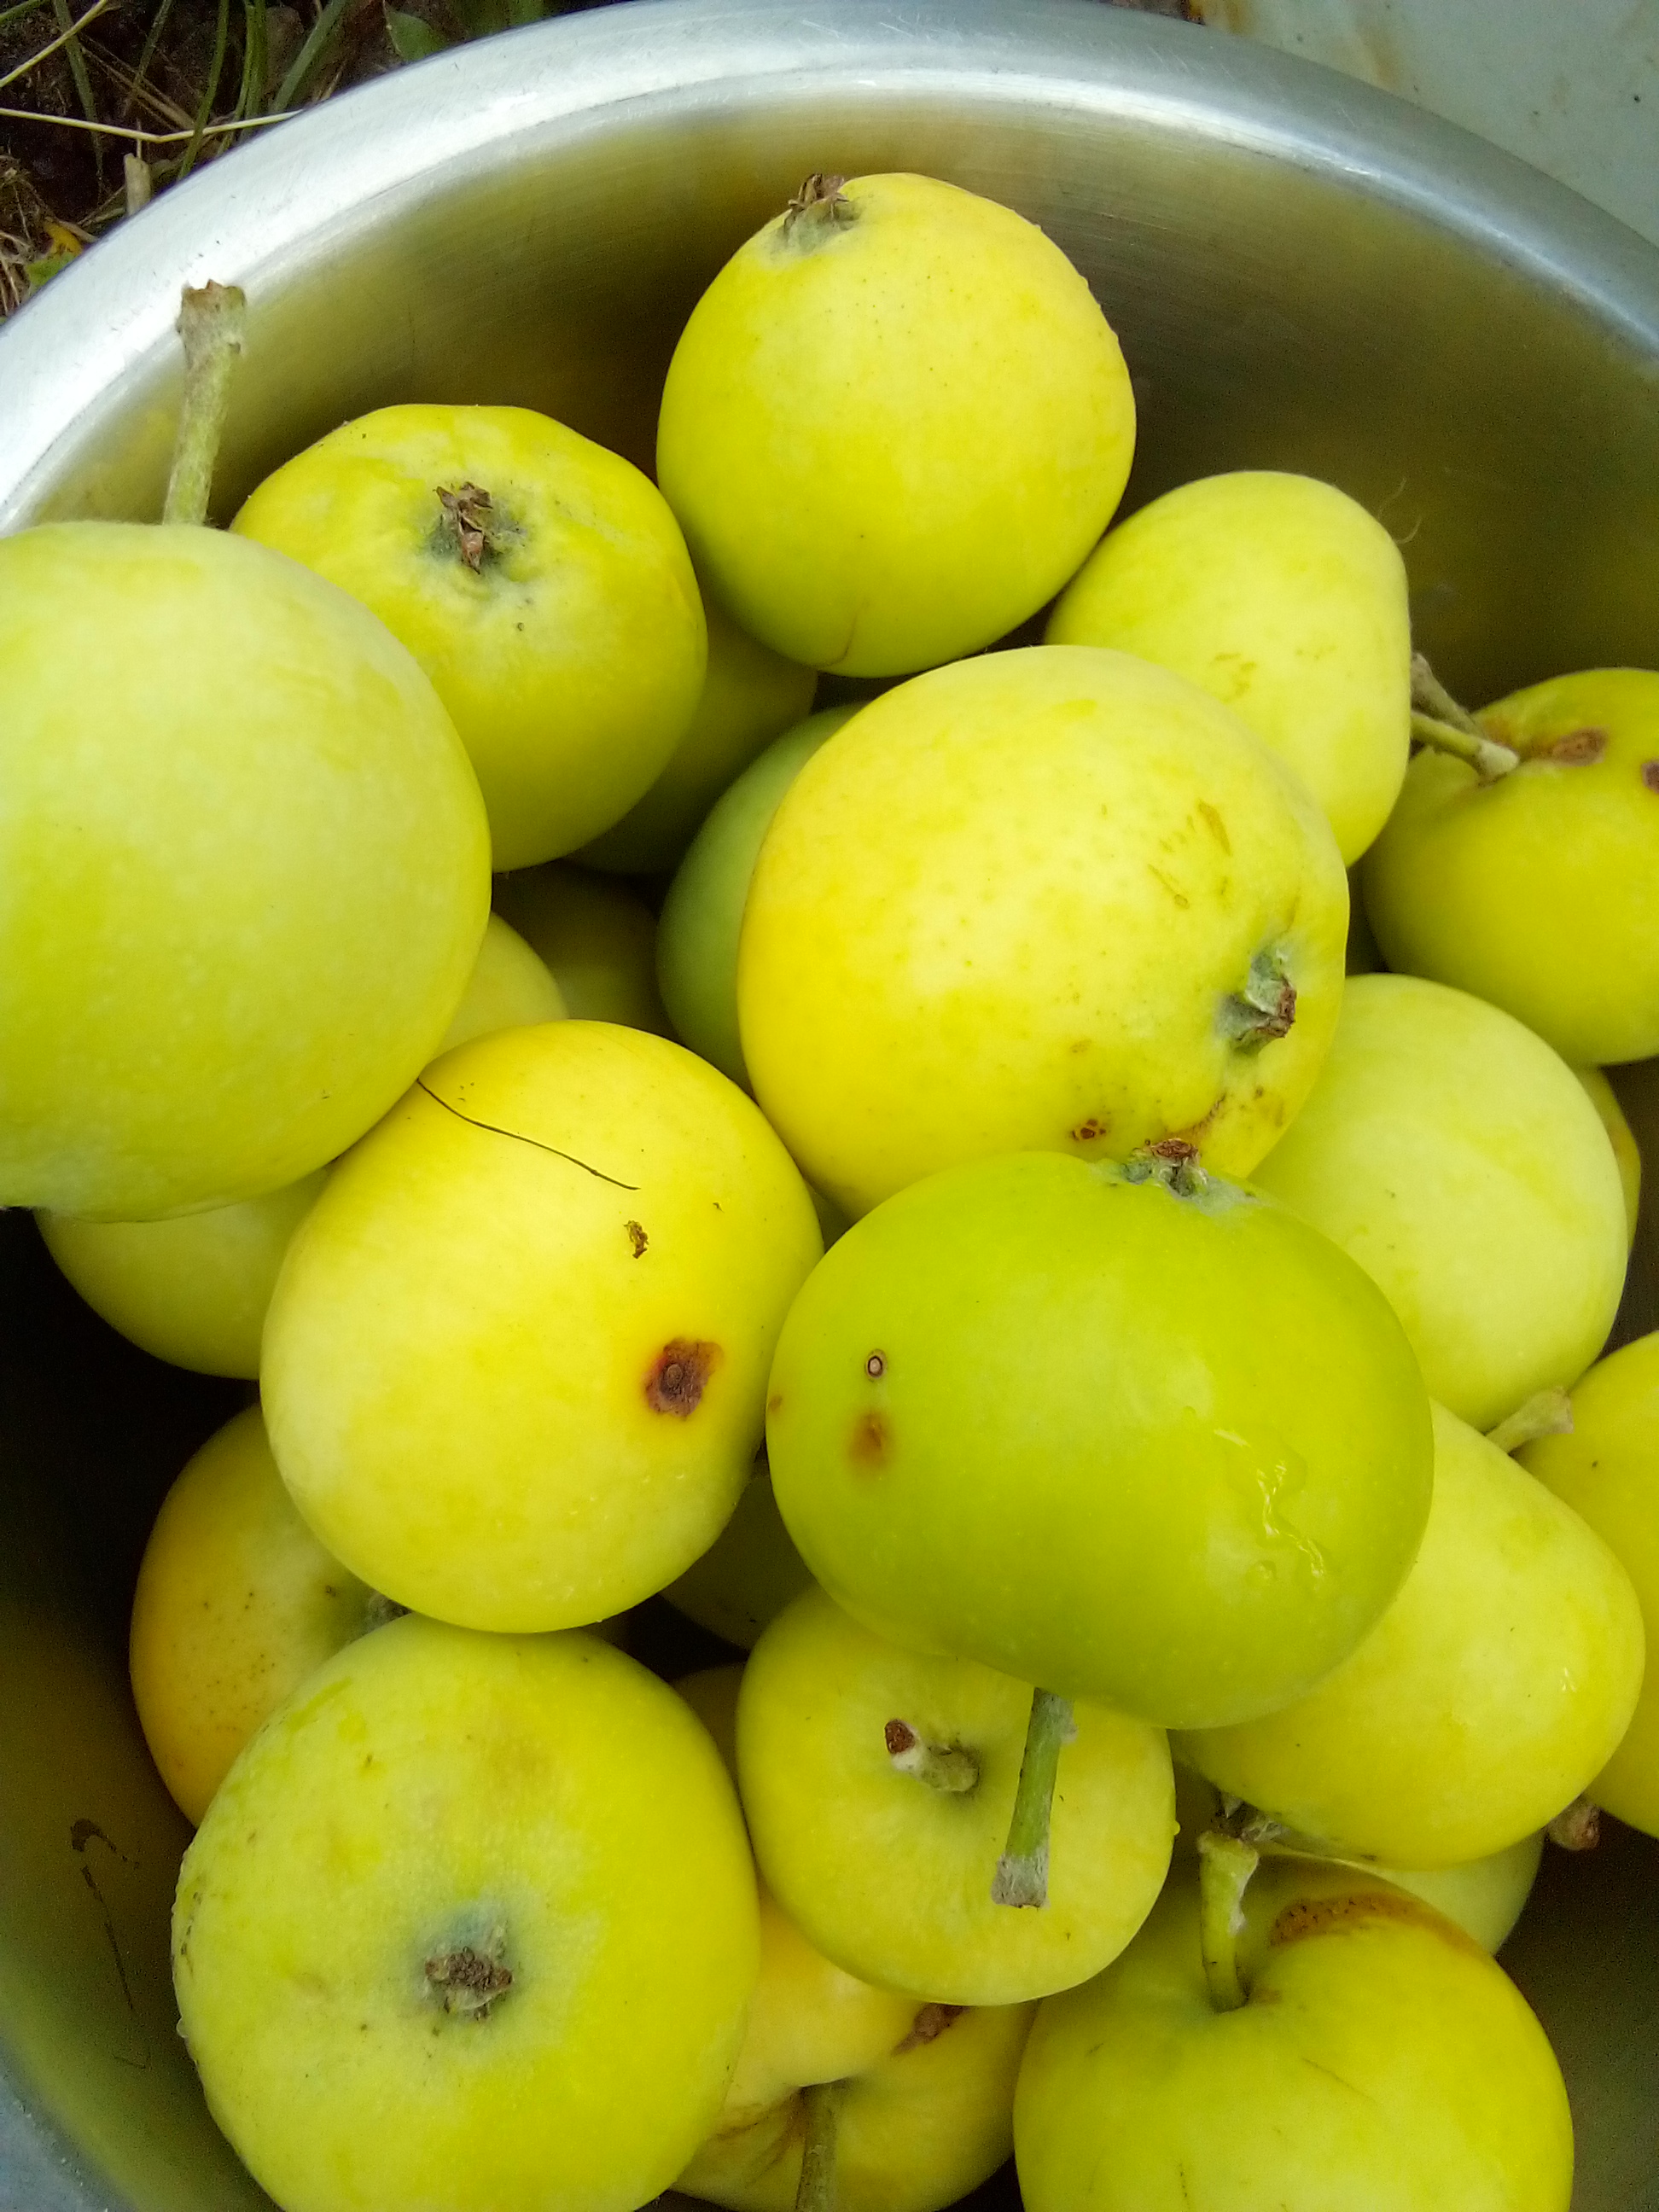
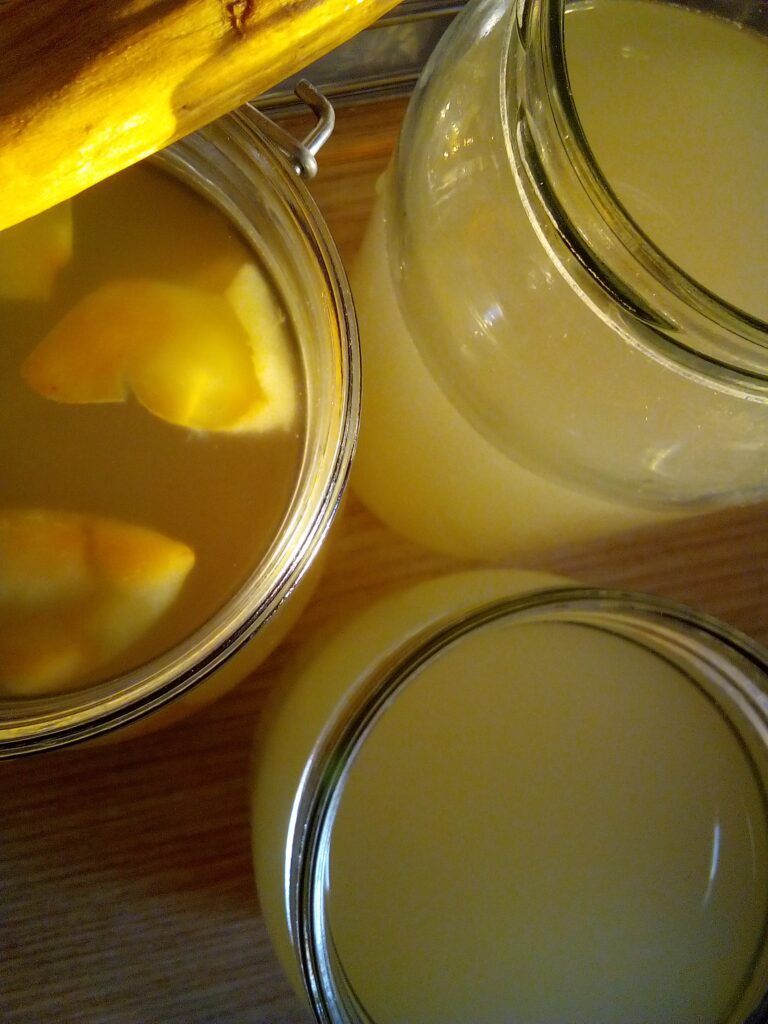
Wash the apples thoroughly, cut them into pieces, and fill a large jar until it is three-quarters full. Peels and cores can go in as well – nothing is wasted.
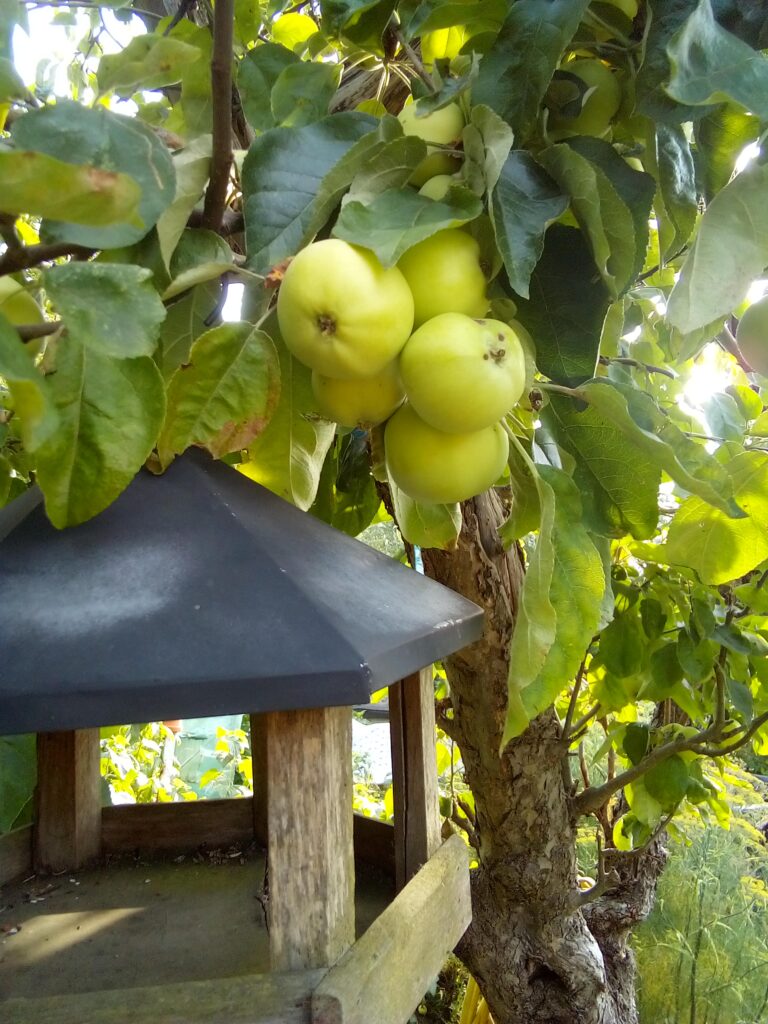
Tip: I like to begin in August with the peels from the first August apples (Malus domestica) – the same variety Frida always used for her applesauce. This way, the vitamin-rich peels are used twice, and I prepare the second batch of vinegar at the end of September with the next variety from my garden.
Step 2 – Adding water
Cover the apple pieces completely with filtered water. Stir gently once with a wooden spoon.
Tip: Always stir with a wooden spoon – metal can interfere with natural fermentation, while wood stays neutral and gentle.

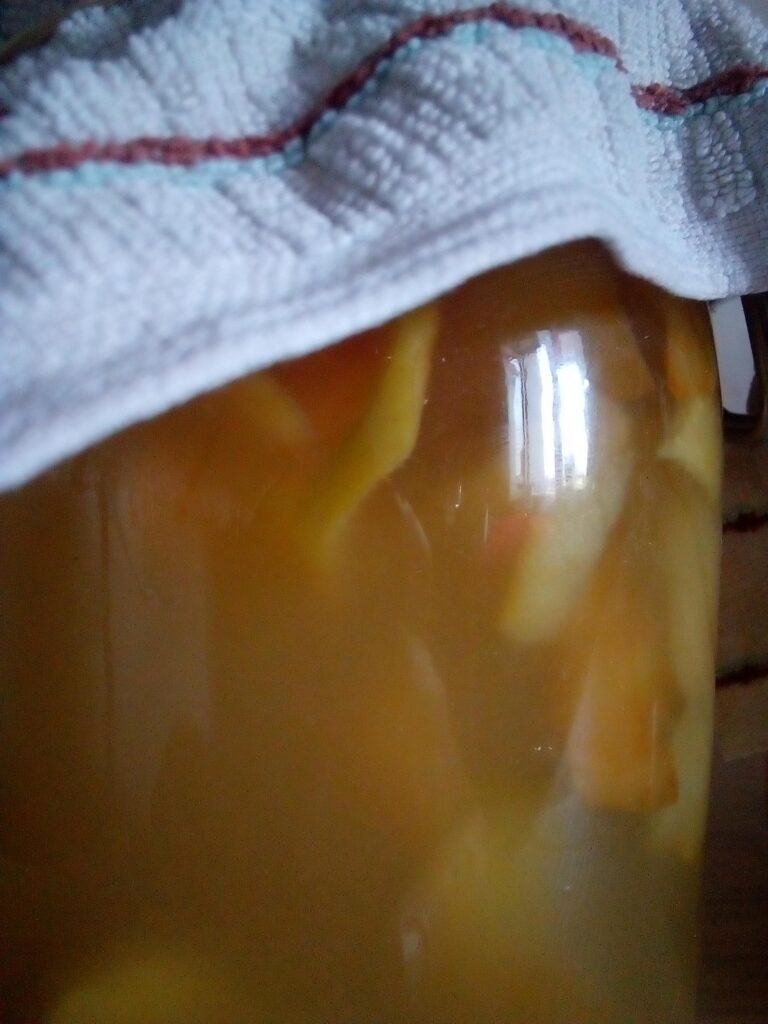
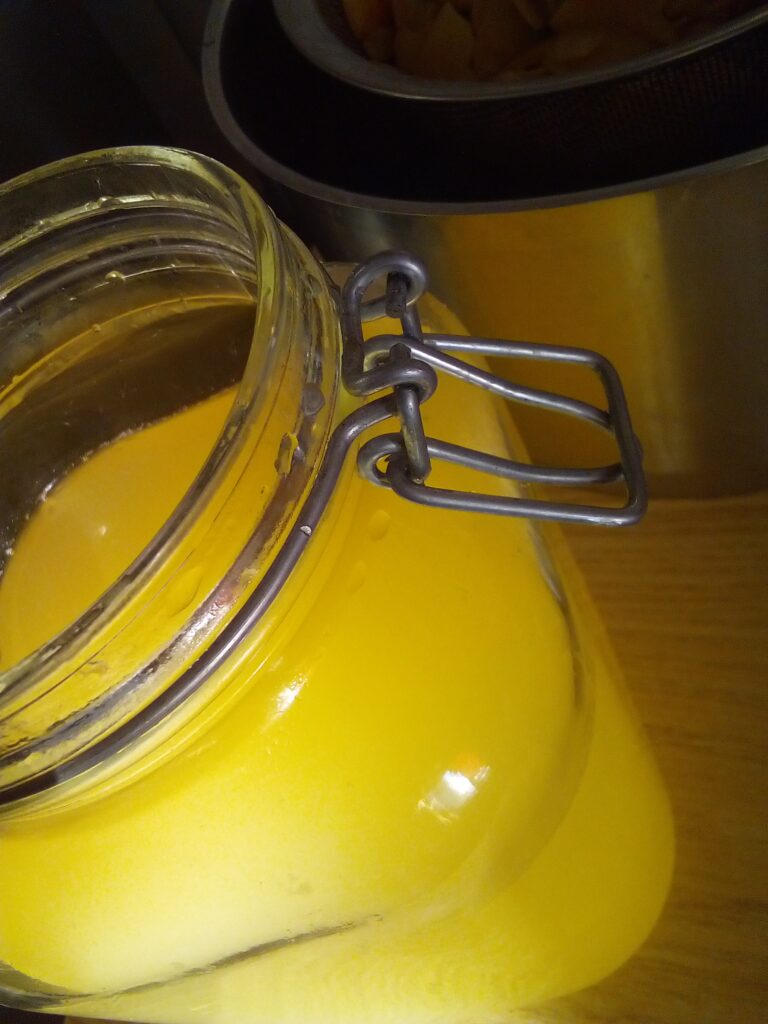
Step 3 – First fermentation
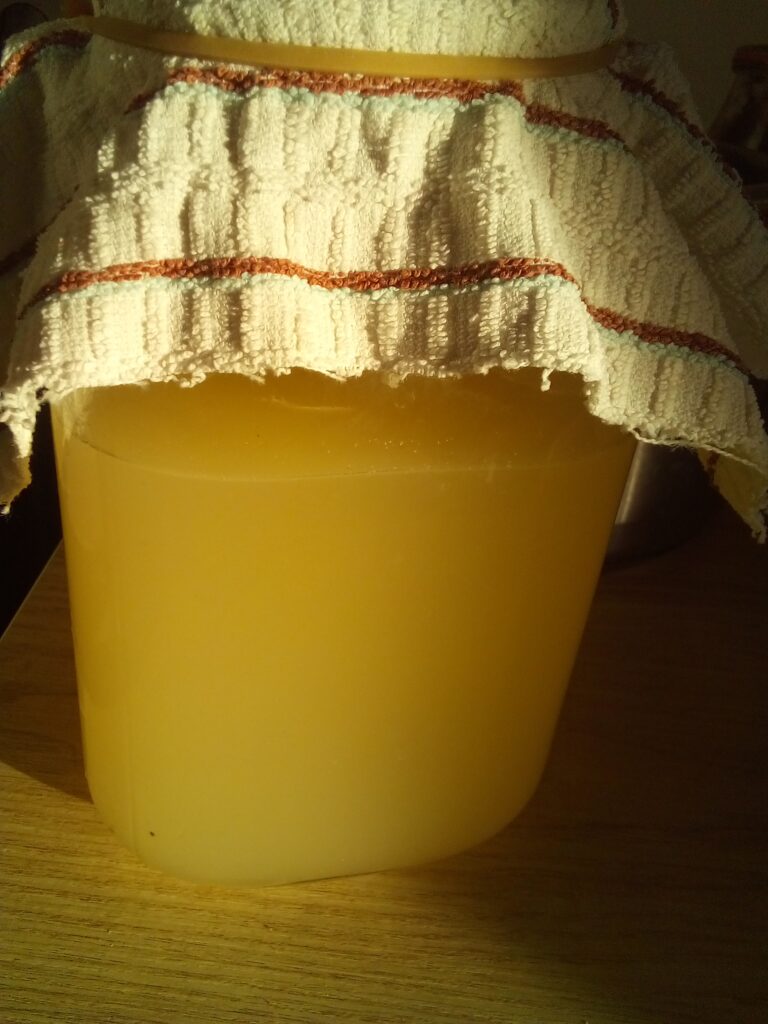
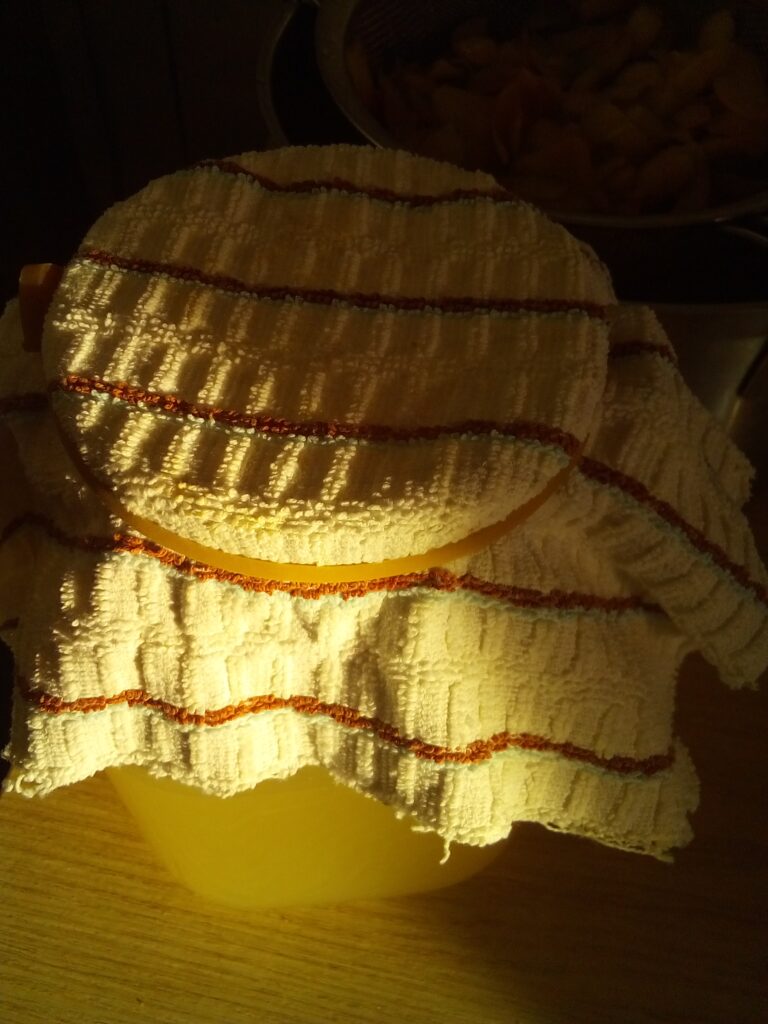
Cover the jar with a cloth and secure it with a rubber band. Leave it at room temperature for one week. Stir once or twice daily with the wooden spoon so no mold forms and the apple pieces remain in contact with the liquid.
Tip: Place the jar in a quiet spot – not directly at the window. Vinegar likes stillness, yet in the first week it also needs warmth and light to get fermentation started. I keep my jars next to the kettle – so I never forget to stir them twice a day.

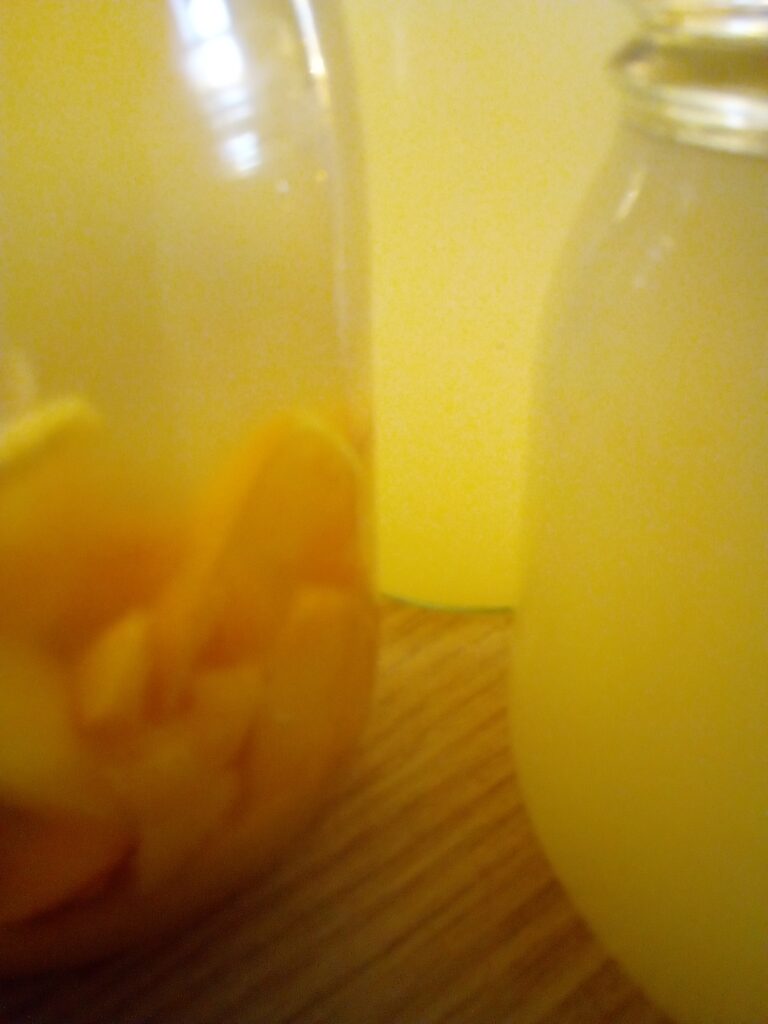
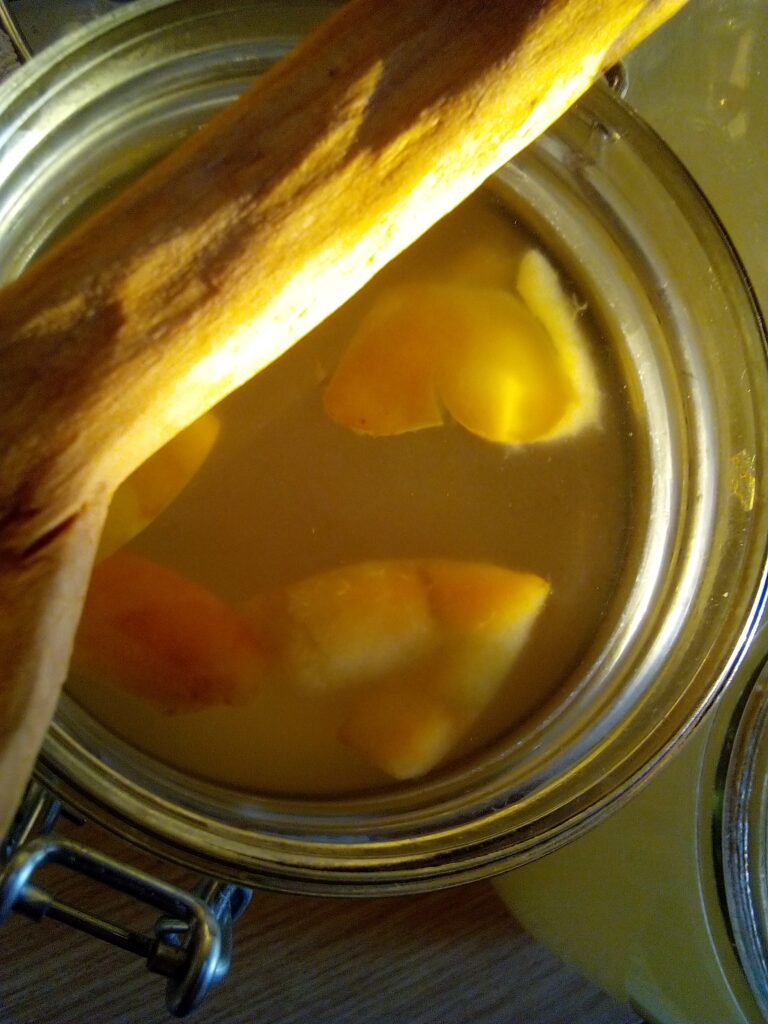
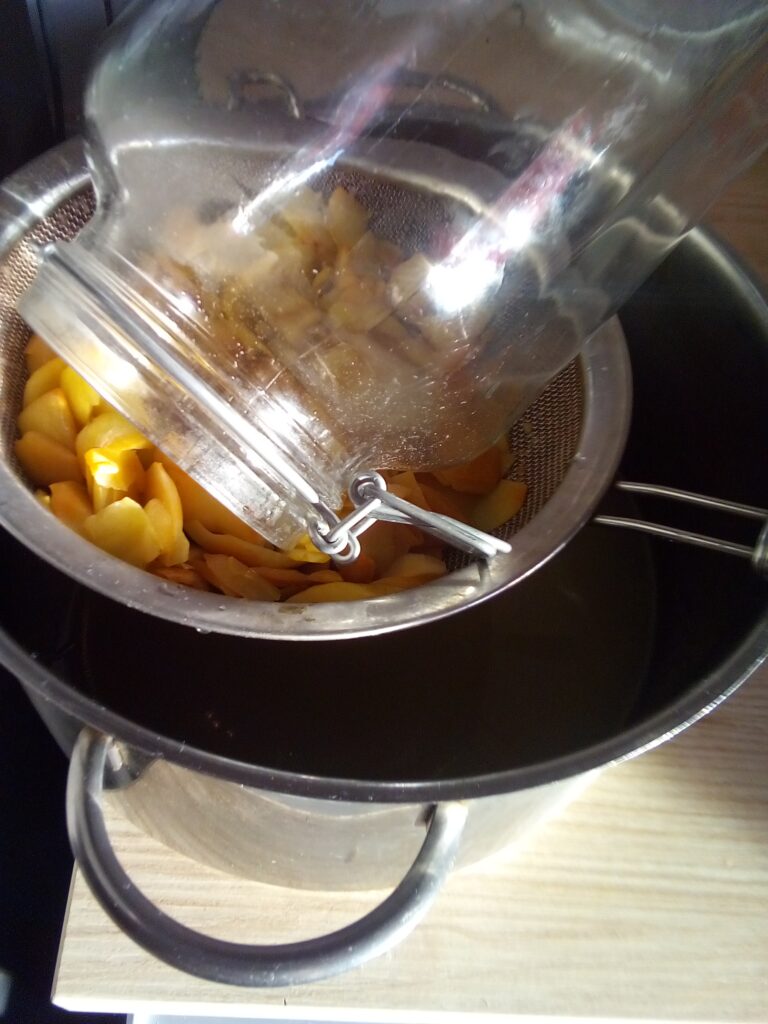
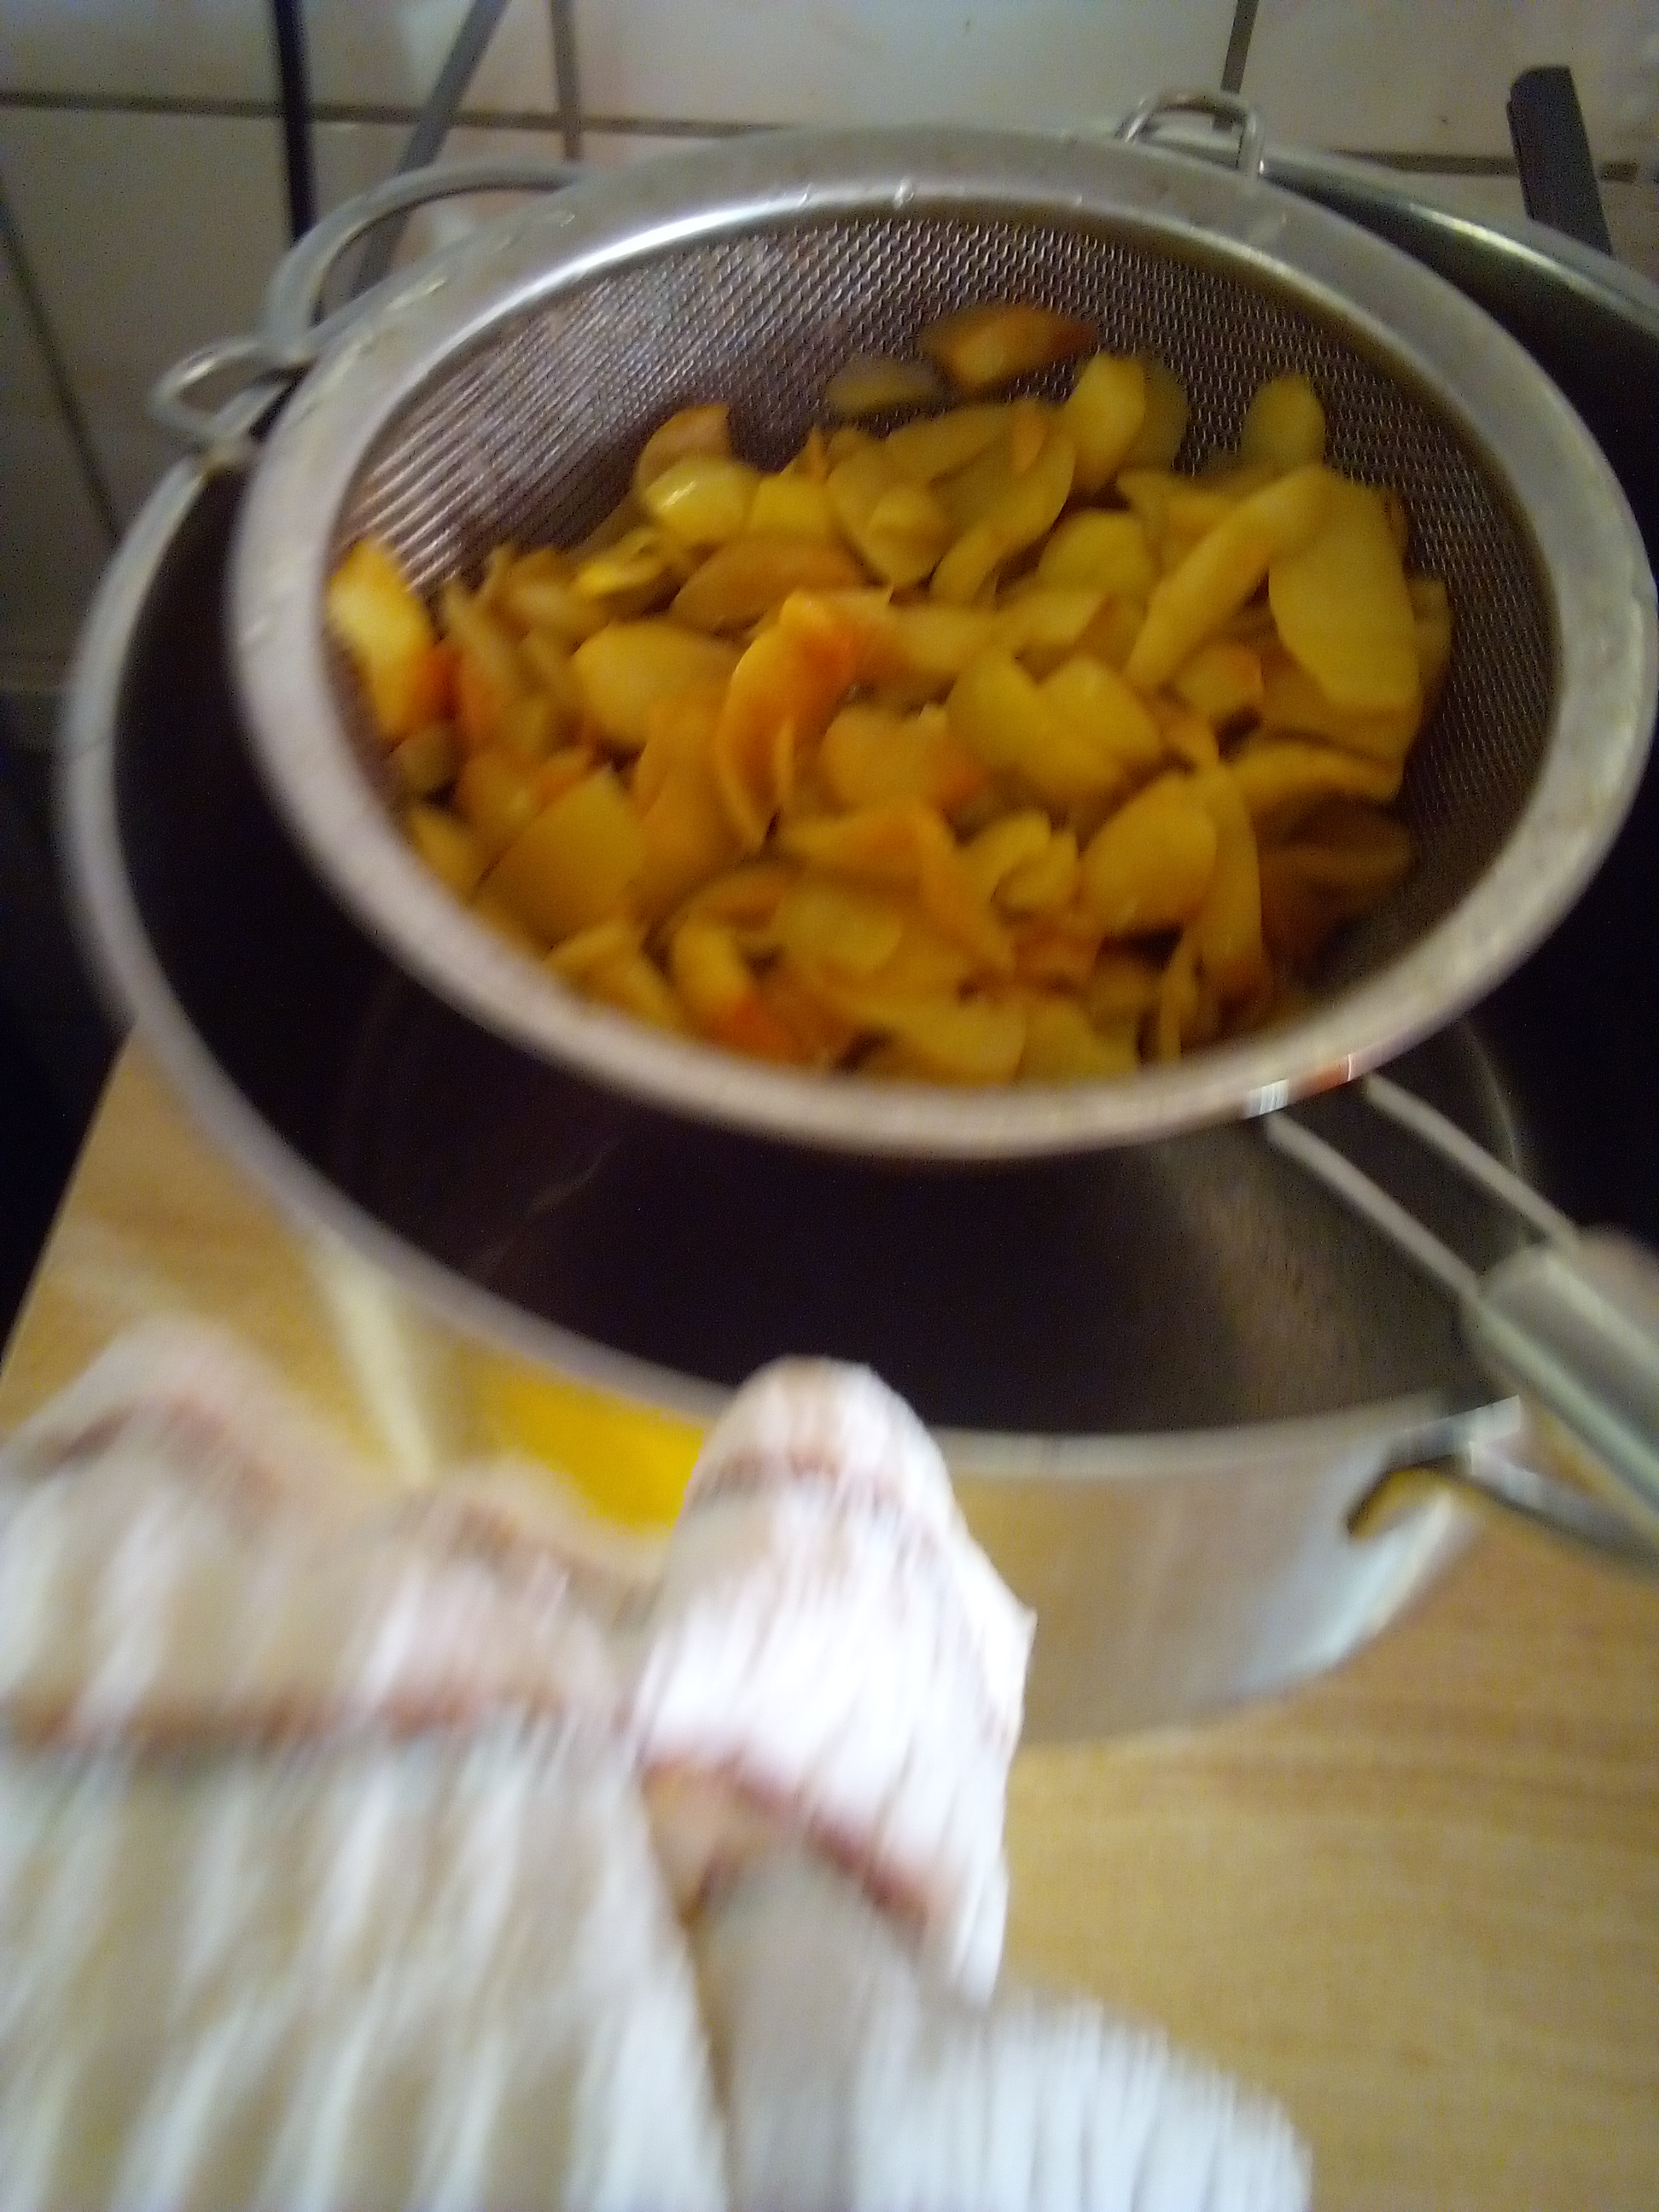
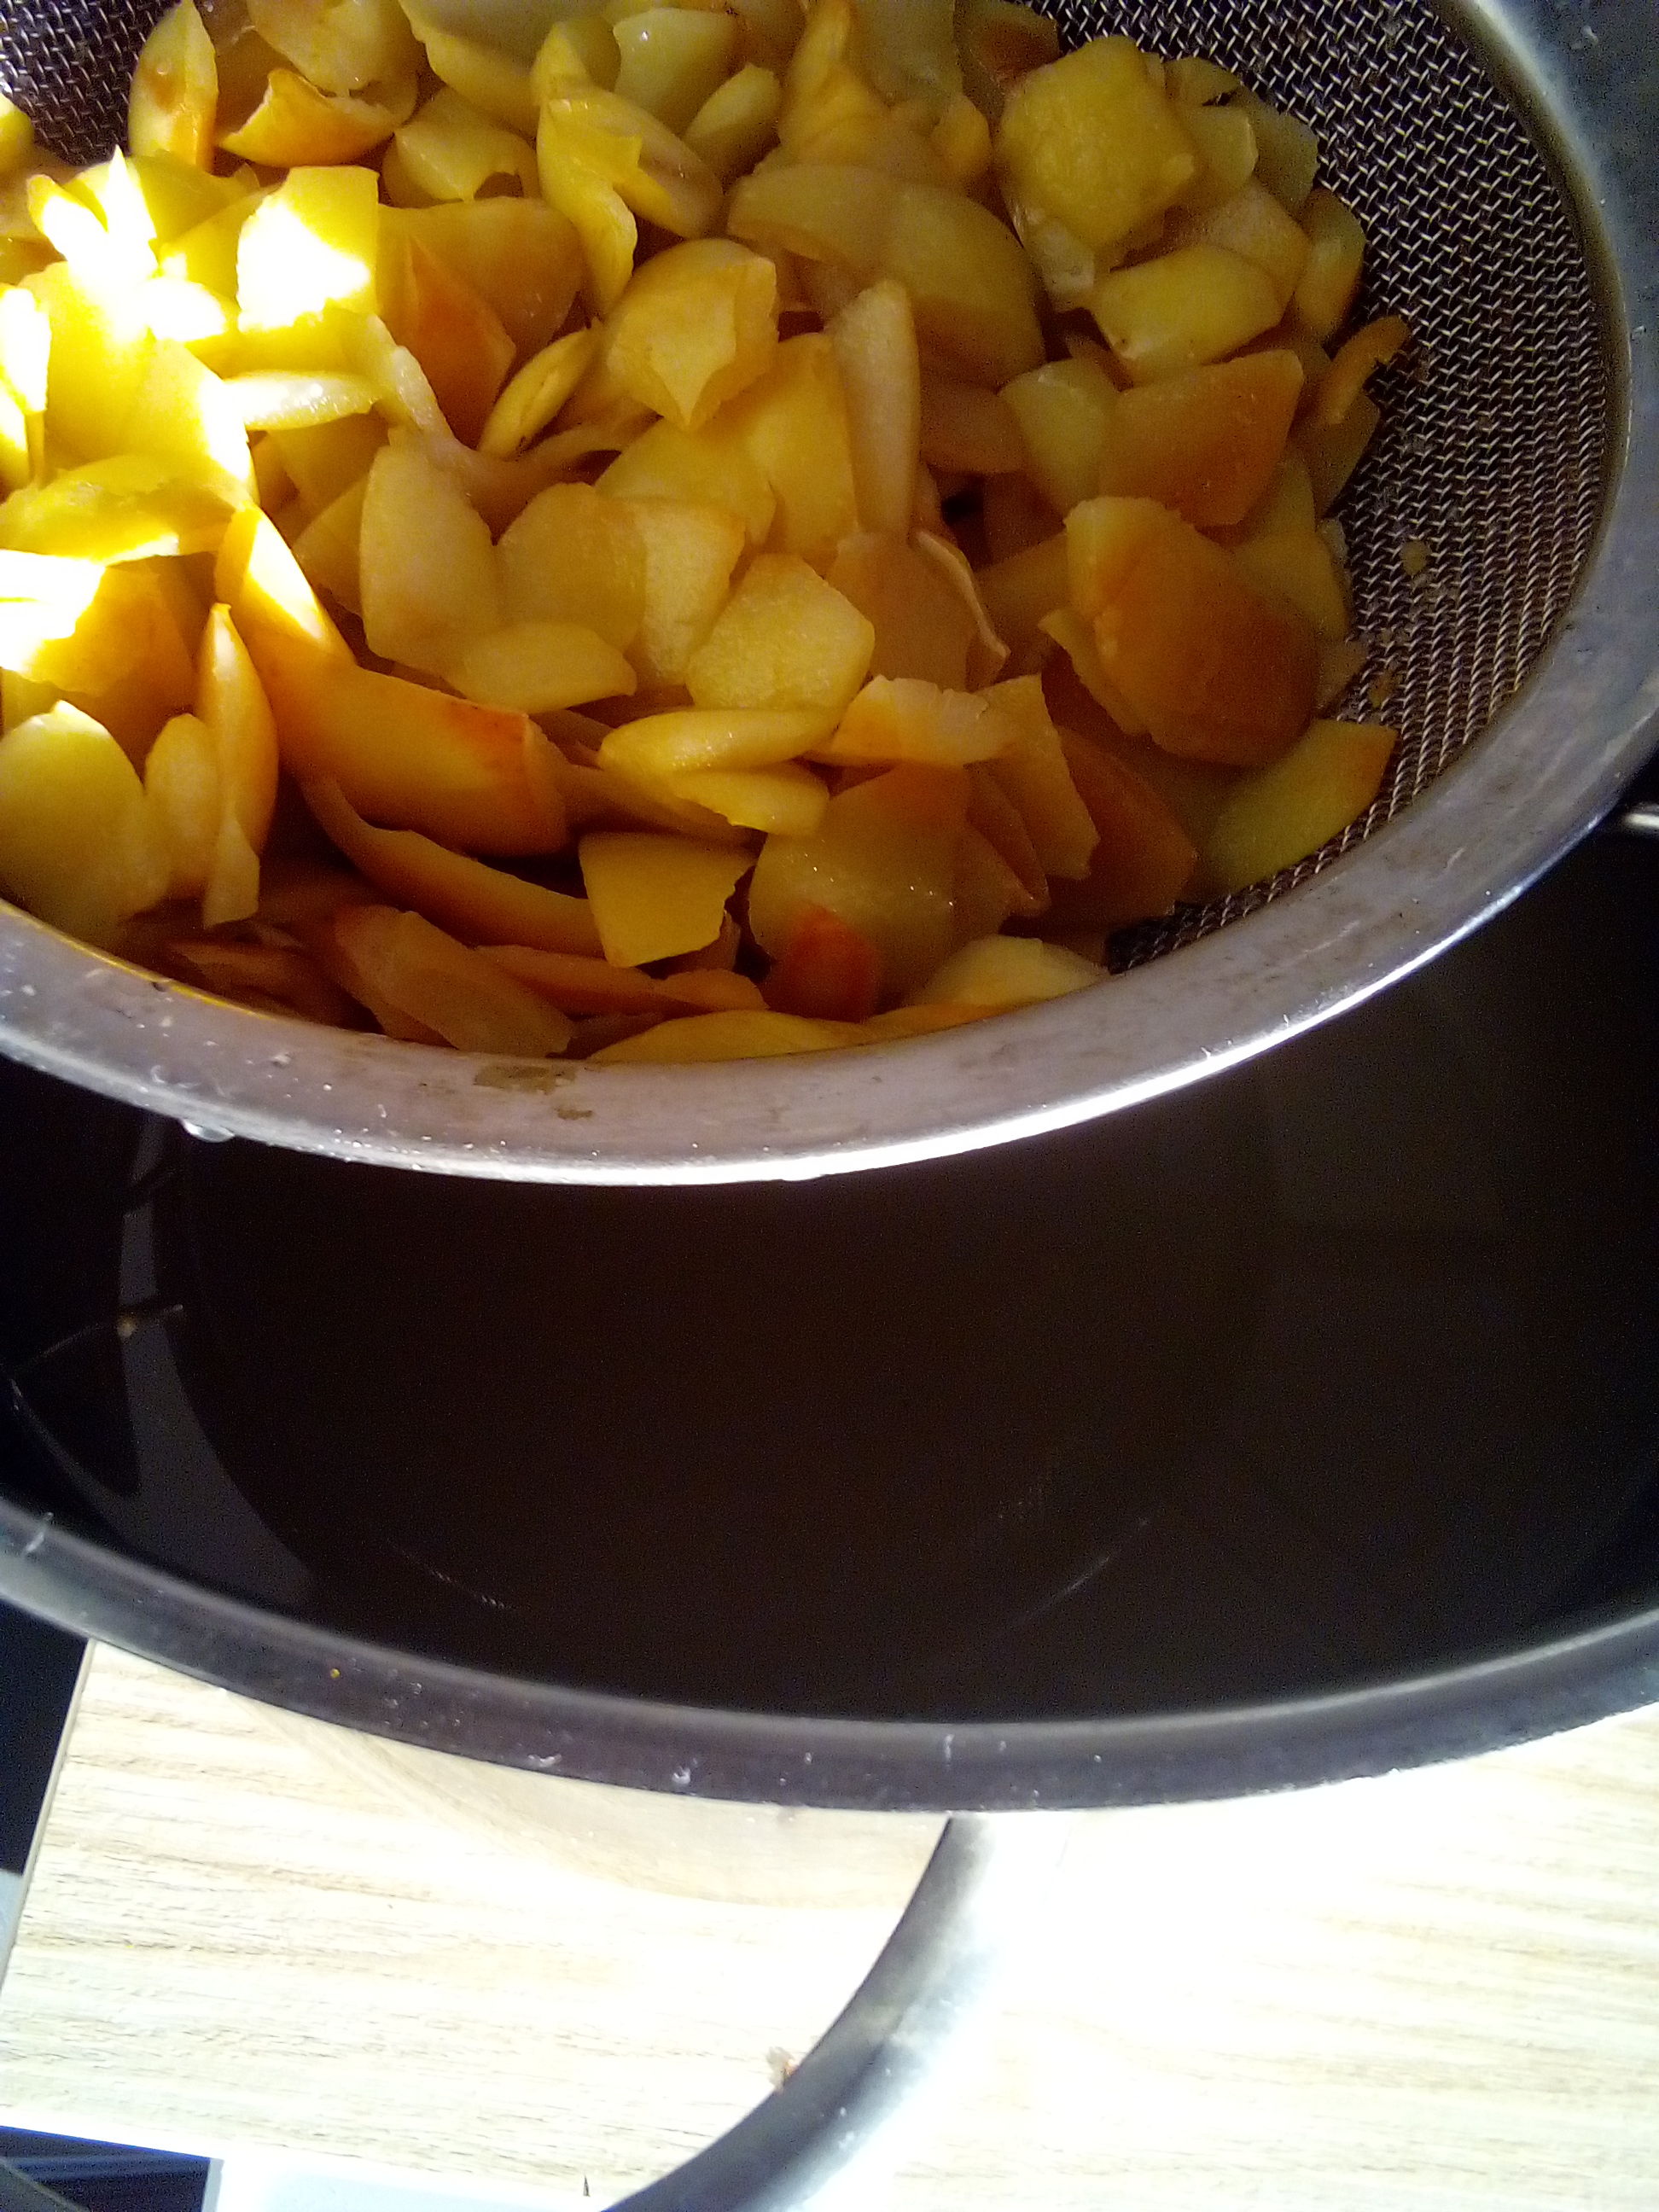
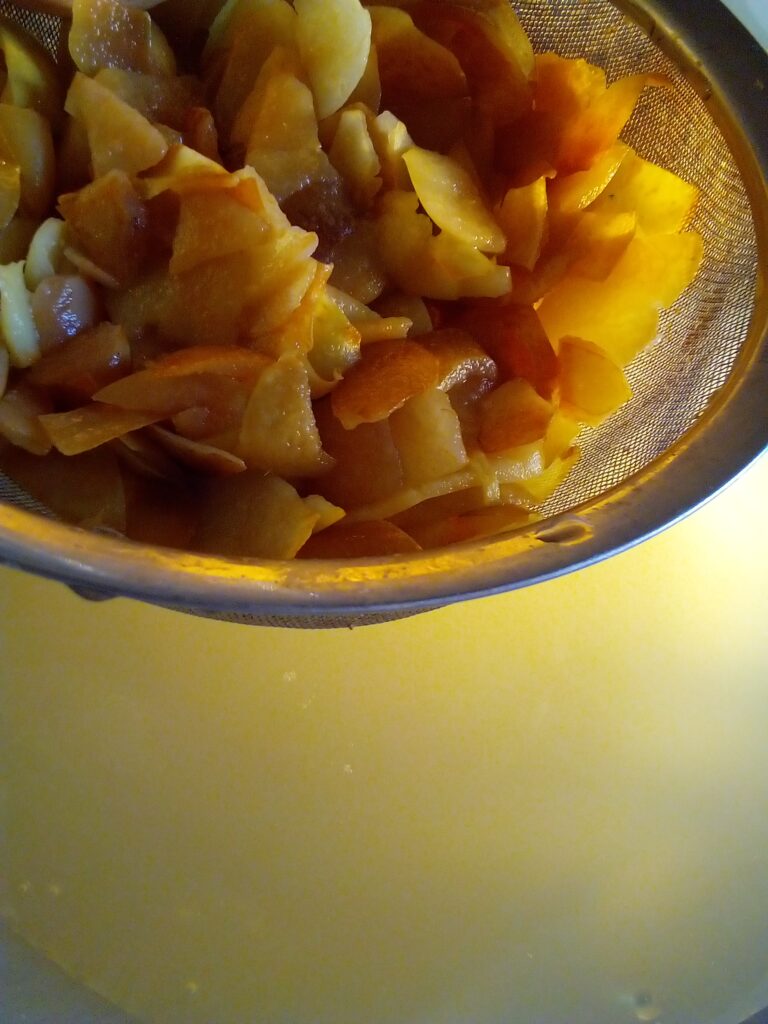
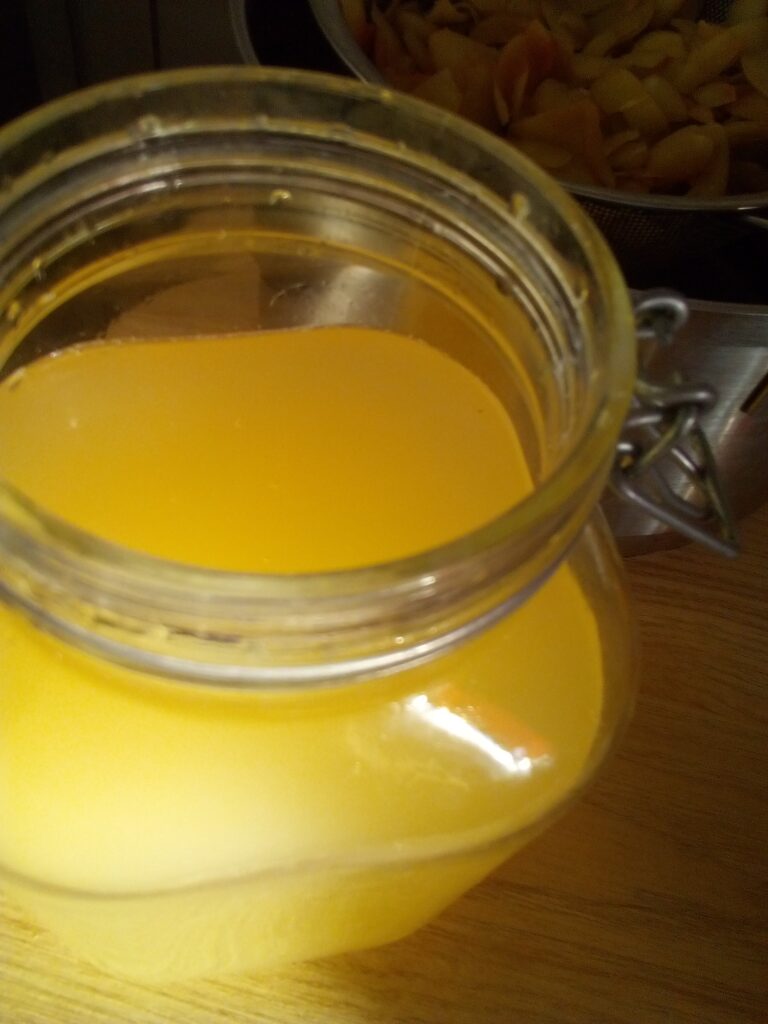
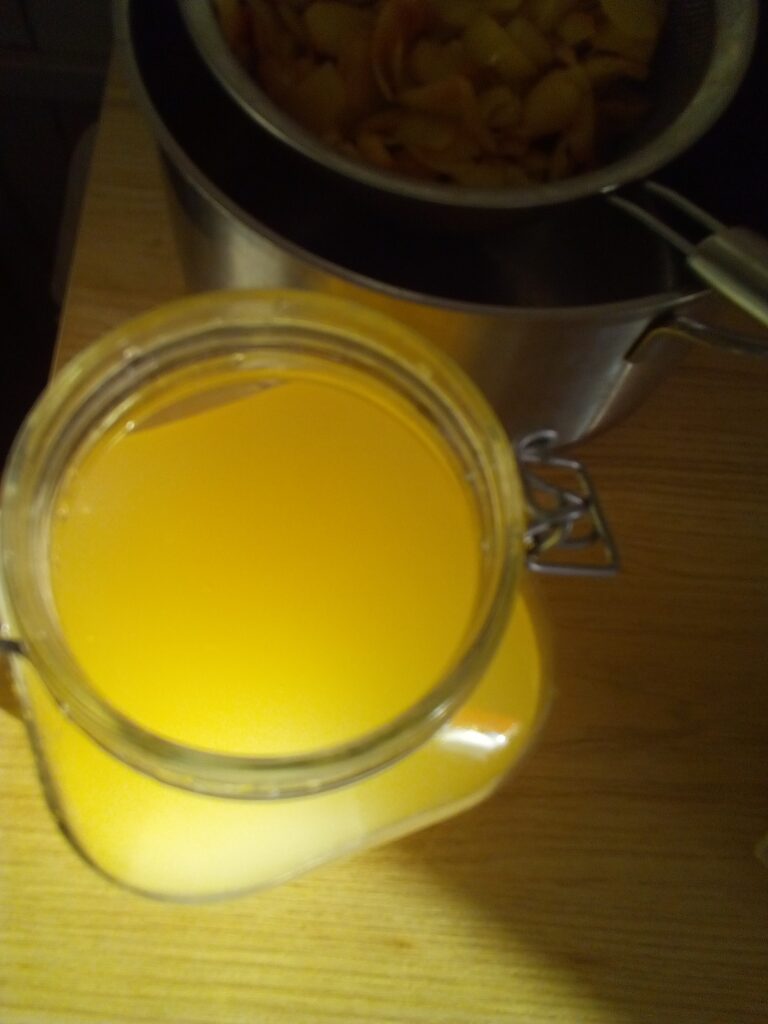
Step 4 – Straining and ripening
After seven days, strain out the apple pieces. Pour the liquid back into the jar, cover again, and let it ripen for another two to three weeks. The smell will tell you when it’s ready – fresh, tangy, and alive.
Tip: If a vinegar mother forms – a jelly-like layer – be glad! It’s a sign of healthy, raw vinegar. The scent, however, can attract vinegar flies. That’s why I secure the cloth with three or four strong rubber bands. The fabric I use is simple – squares cut from an old towel that found a new purpose.
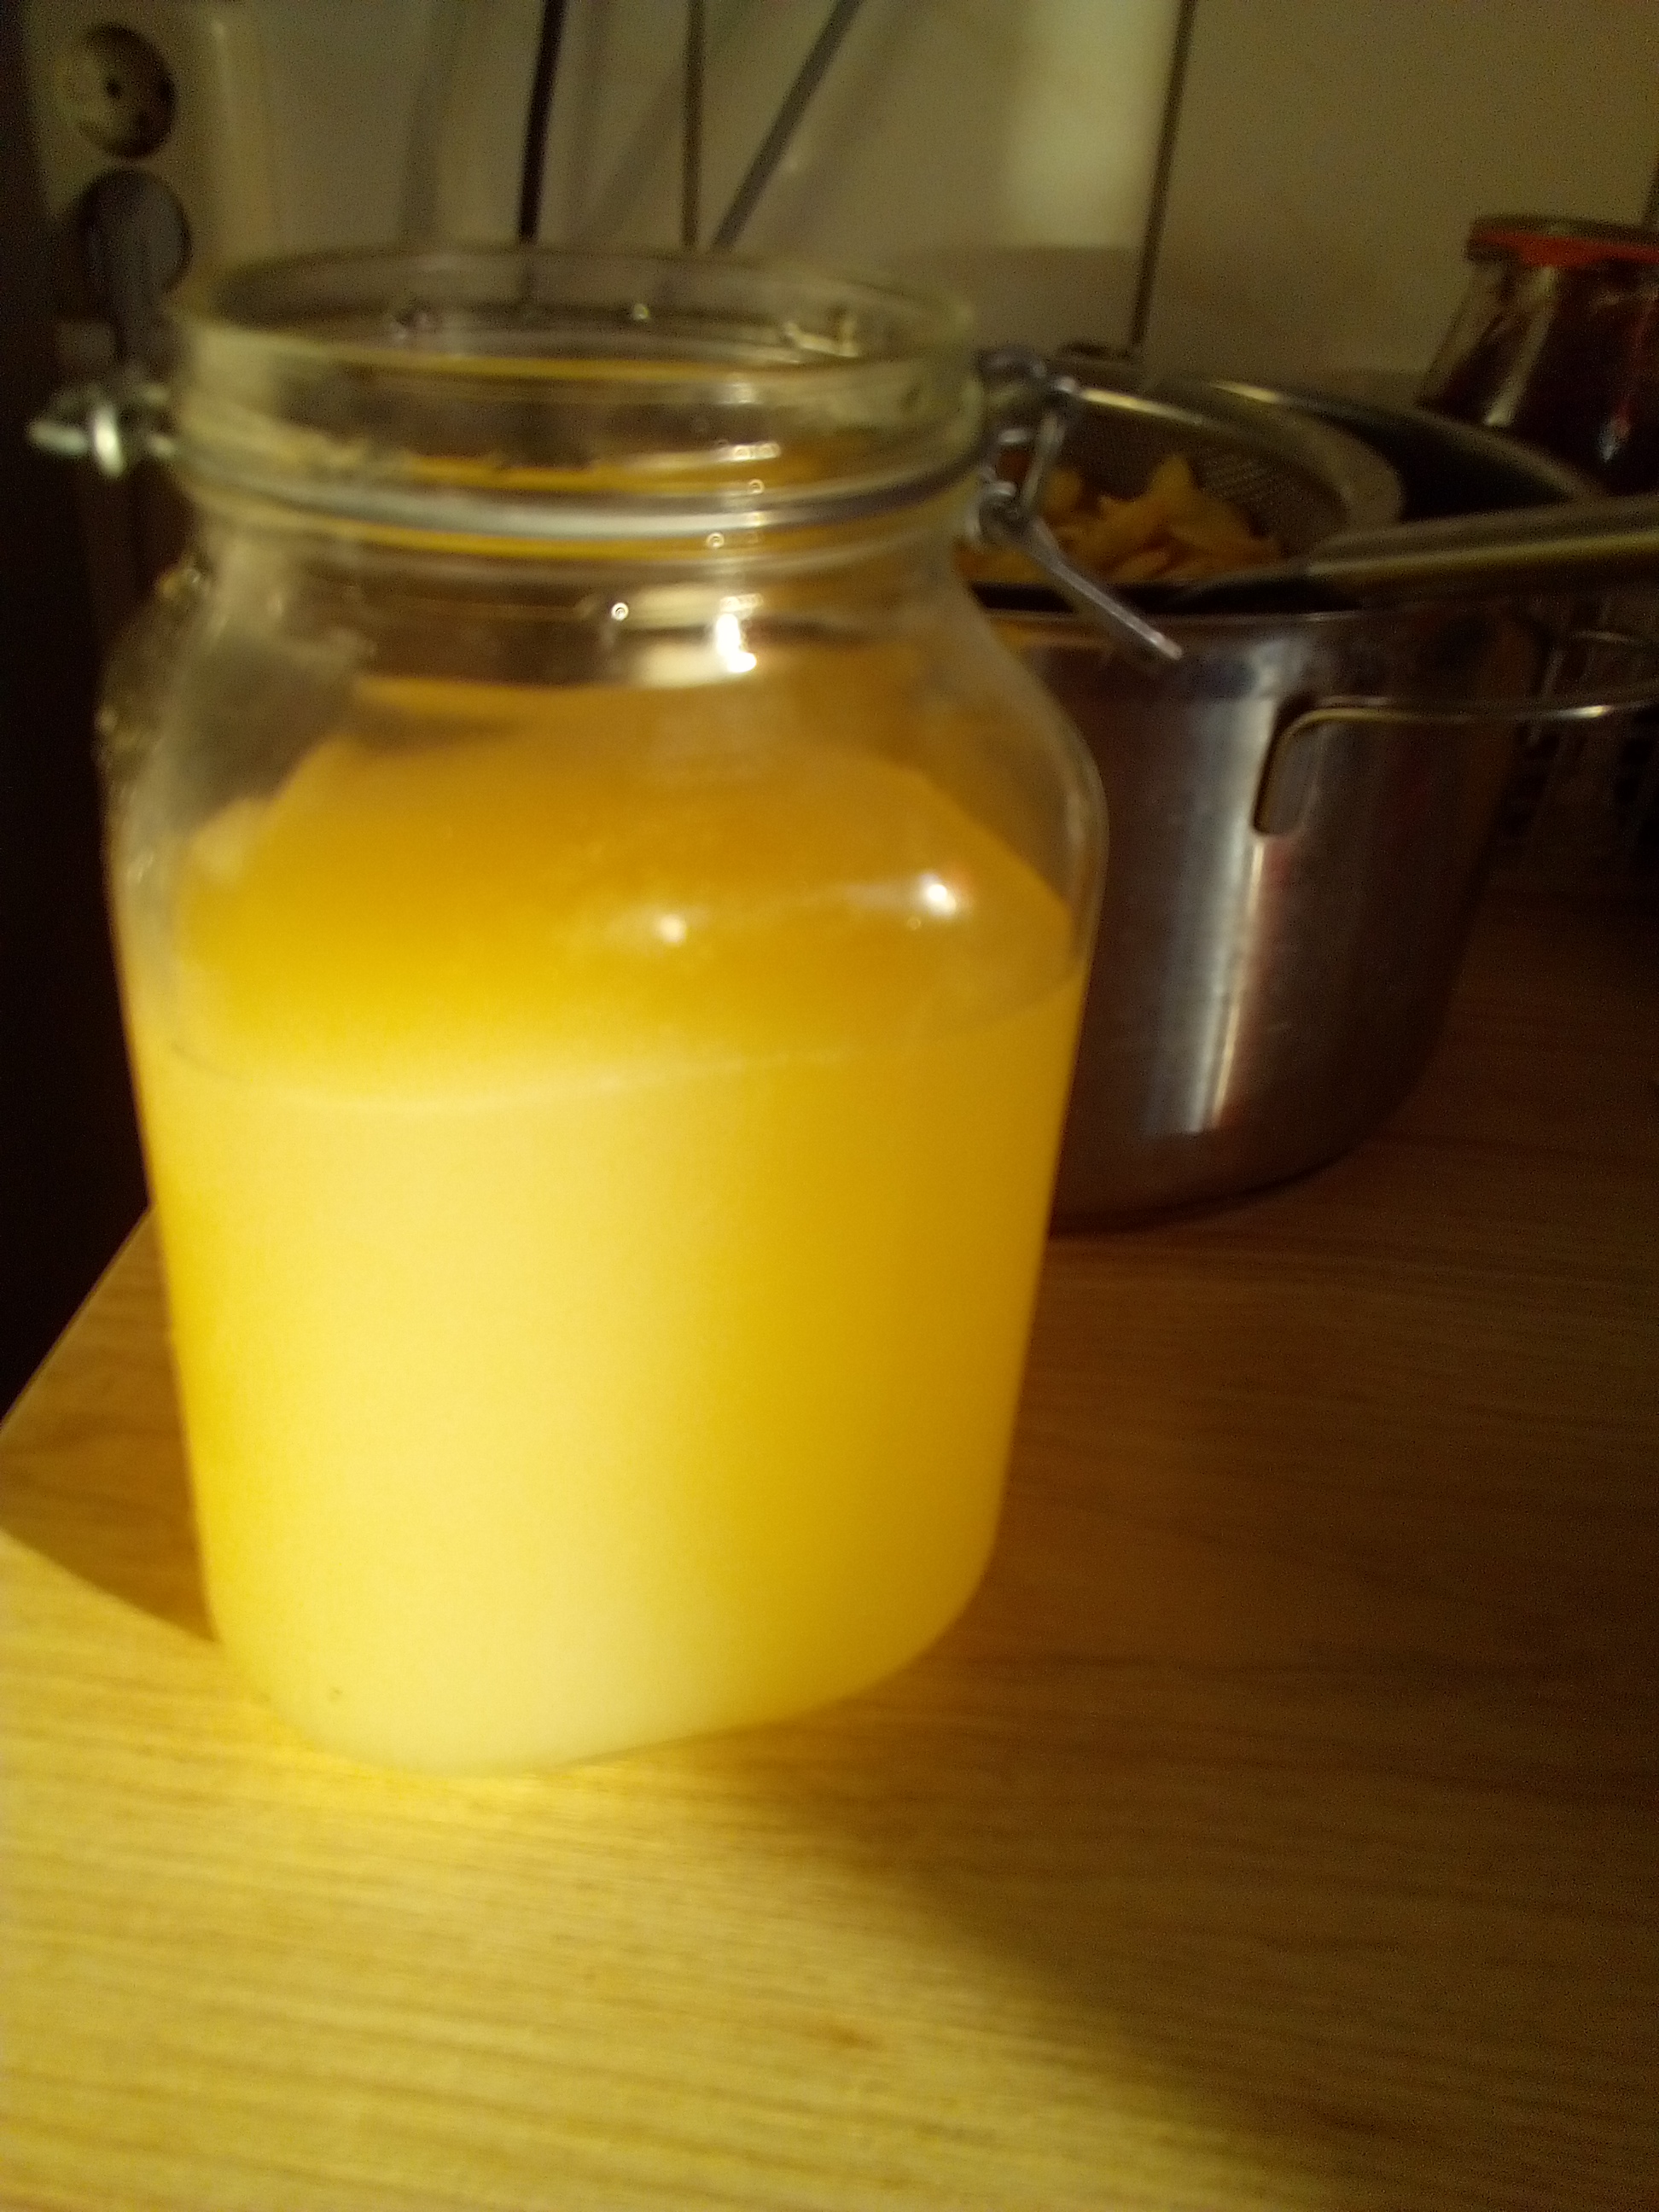
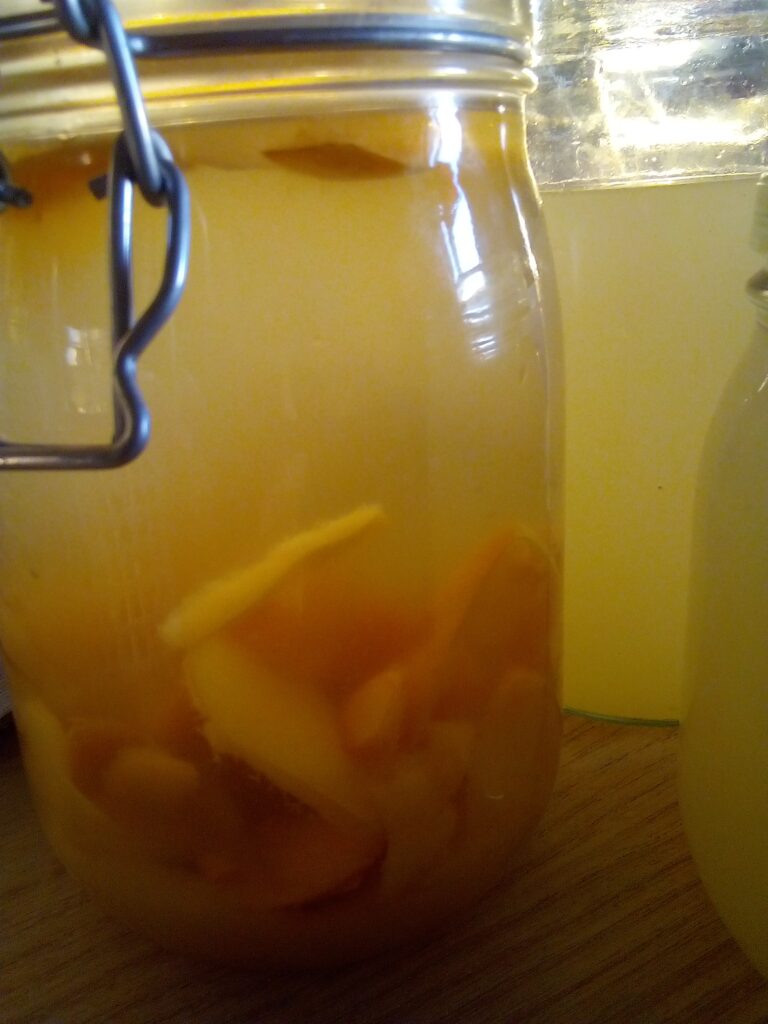
Step 5 – Bottling and storing
Pour the finished apple cider vinegar into clean glass bottles. Store in a cool, dark place – it will keep for months.
Tip: Save a small jar of vinegar with the mother culture inside. It acts as a natural starter and speeds up your next fermentation at home. I keep mine in the cool, dark cellar, where the mother stays alive and ready for the next batch. Over time, you can build up a little collection of strong, healthy starters.
Household Uses for Homemade Apple Cider Vinegar
Homemade apple cider vinegar is not only a kitchen ingredient – it is one of the most versatile natural remedies and household helpers. For generations, people have used raw, unfiltered apple cider vinegar for cleaning, health, and even beauty routines. The beauty of fermentation at home is that nothing goes to waste: the apples from your garden become a golden liquid with countless everyday uses.
- Natural cleaner: Mix equal parts apple cider vinegar and water for an eco-friendly spray that removes limescale, freshens glass, and disinfects surfaces.
- Hair rinse: A tablespoon of apple cider vinegar in a cup of water makes hair soft and shiny – a natural conditioner without chemicals.
- Immunity booster: Add a teaspoon of raw apple cider vinegar to warm water or tea for a gentle morning tonic that supports digestion and overall health.
Frida would have said: “In vinegar, you don’t just find sourness – you discover how simple things can bring balance to a busy home.”
More Homestead Recipes for Slow Living
If you enjoyed this homemade apple cider vinegar recipe, you might also love exploring other simple, seasonal ideas from my kitchen and garden. On the blog, you’ll find more homestead recipes for slow living – easy, nourishing, and always inspired by nature’s rhythm. Take a moment to browse, be inspired, and let the garden guide your table.